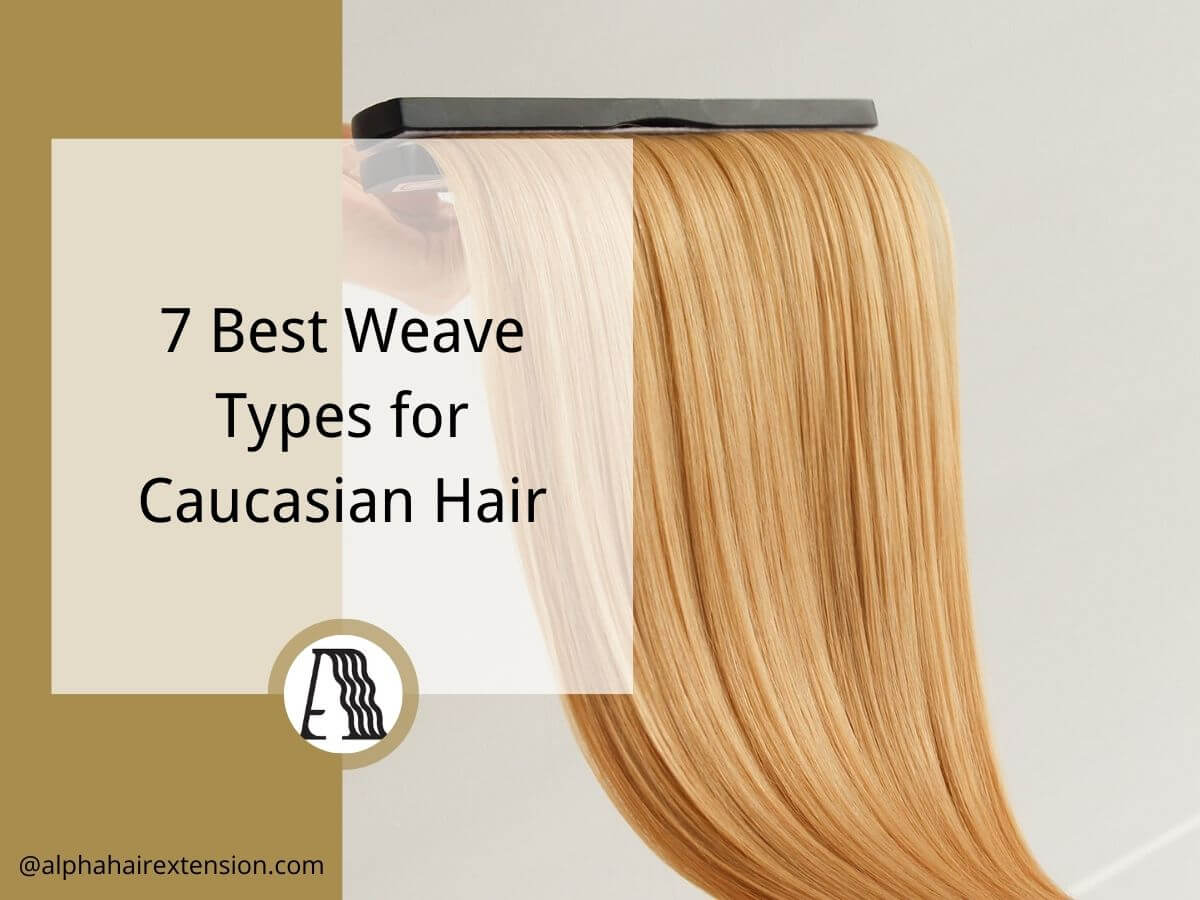

You want to know how to install invisible bead extensions? You start by prepping your hair, sectioning it, and then using the extension method to attach Alpha’s high-quality wefts. When you use premium hair extensions like Alpha, you get a seamless, natural look that feels comfortable.
Don’t worry if you’re new to this—anyone can master the steps with a little patience and the right tools!
Tip: Alpha extensions make blending easier and last longer, so you can enjoy beautiful results.
Key Takeaways
Prepare your hair properly before installation. Clean, healthy hair ensures extensions stay secure and look natural.
Use the right tools for installation. Essential items include sectioning clips, micro beads, and extension pliers to make the process easier.
Choose high-quality extensions like Alpha for a seamless look. They blend well with your natural hair and are customizable to your needs.
Follow a consistent aftercare routine. Regular brushing and gentle washing help maintain the extensions and keep them looking great.
Avoid common installation mistakes. Take your time with sectioning and placement to ensure a comfortable and natural finish.
Tools and Materials
Essential Tools
You need the right tools to install invisible bead extensions. These tools help you work efficiently and keep your extensions secure. Here’s what you should have ready:
Sectioning clips: These clips help you divide your hair into neat sections.
Micro beads: You use these beads to anchor the extensions to your natural hair.
Cotton thread and nylon thread: These threads secure the wefts and beads.
Additional tape and tape remover: Tape helps with placement, and remover makes cleanup easy.
Hair extension brushes and paddle brushes: These brushes prevent tangling and keep your extensions smooth.
Hair extension pliers: You use pliers to clamp the beads and secure the extensions.
Tip: Always check for metal components in your tools and extensions. If you need an MRI scan, you must remove metal parts for safety. Tape-in extensions are safe for medical screenings, but you should tell your technician about your extensions.
Choosing Alpha Extensions
When you pick Alpha extensions, you get quality and versatility. Alpha offers 100% Remy human hair extensions, which feel soft and look shiny. These extensions keep their color and texture after washing, so you don’t have to worry about dullness.
Remy extensions have cuticles aligned in the same direction, which means less tangling and matting. You can style them with heat tools, and they stay resilient against humidity and temperature changes.
Alpha gives you options for customization. You can choose hand-tied hair extensions or other types to match your hair texture and color. If you have fine, thick, or curly hair, Alpha extensions blend seamlessly. You can even ask for custom lengths and shades.
Many salons and brands trust Alpha for its durability and natural look.
If you’re not sure which extensions fit your needs, you can ask a certified stylist for advice. They can help you select the best hand-tied hair extensions or other styles for your hair type. With Alpha, you get extensions that boost your confidence and make styling easy.
Preparation Steps
Hair Prep
Getting your hair ready is the first step to a flawless installation. Healthy, clean hair helps your extensions stay secure and look natural. Here’s a simple checklist to follow before you start:
Check your hair’s condition. Make sure it feels strong and healthy. Weak or brittle hair can break during installation.
Eat a balanced diet. Good nutrition supports hair growth and strength.
Wash your hair based on your hair type. If you have oily roots, use a gentle, sulfate-free shampoo. Dry shampoo works for a quick refresh.
Brush your hair to remove all tangles. Use a soft-bristle or extension brush for best results.
Avoid heat styling right before installation. Let your hair rest and recover.
Clarify your roots with a sulfate-free shampoo. This removes buildup and helps beads grip better.
Condition only the mid-lengths and ends. Skip the roots to prevent slippage.
Brush again to make sure your hair is completely tangle-free.
Let your hair dry fully and naturally. Damp hair can cause beads to slip.
Tip: If your hair feels too short or thin, talk to a stylist. Sometimes, extensions need a bit more length or volume to hold well.
Workspace Setup
A tidy, organized workspace makes the process smoother and more enjoyable. You want everything within reach so you can focus on perfect placement.
Lay out all your tools—clips, beads, thread, brushes, and pliers—on a clean towel or tray.
Use a mirror with good lighting. Natural light works best, but a bright lamp helps too.
Keep a spray bottle of water handy. It helps manage flyaways and keeps sections neat.
Make sure your chair is comfortable and at the right height. You’ll spend some time here!
Have a trash bin nearby for used beads or thread.
Note: Unclean or tangled hair can lead to poor results. Take your time with prep, and you’ll set yourself up for a seamless, beautiful installation.
Sectioning Hair

Creating Sections
You want your invisible bead extensions to look flawless and natural. That starts with proper sectioning. Grab your sectioning clips and a tail comb. Stand in front of a mirror with good lighting. Start by dividing your hair into horizontal rows. Begin at the nape of your neck and work your way up.
Each row should be about half an inch thick. This thickness gives you enough hair to anchor the beads without making the extensions too heavy.
Use your fingers or a comb to make each part as straight as possible. Clip the rest of your hair out of the way. If you have thick hair, you might need more rows. For fine hair, fewer rows work best.
Make sure you detangle each section before you move on. Smooth, tangle-free hair makes the installation process easier and helps the beads stay in place.
Pro tip: Section your hair by rows before washing. This helps you clean your scalp thoroughly and keeps your sections neat for installation.
Tips for Even Placement
Even placement is the secret to a seamless finish. You want your extensions to blend perfectly with your natural hair. Here are some tips to help you get it right:
Check your sections in the mirror from different angles. This helps you spot uneven lines.
Use a spray bottle to tame flyaways and keep each section smooth.
Clip each finished section out of the way so you don’t mix them up.
Work slowly and double-check your partings before adding beads.
If you’re unsure, ask a friend to help you check the back of your head.
When you take your time with sectioning, you set yourself up for a beautiful, natural look. Good sectioning also makes the rest of the installation process much easier.
How to Install Invisible Bead Extensions with Alpha?

You want to know how to install invisible bead hair extensions with Alpha? Let’s break down the process step by step. You’ll see why this is the most requested extension method in salons and why Alpha’s quality makes your results look flawless.
Bead Foundation
Start your initial install by creating the bead foundation. This step sets the stage for a comfortable installation and a damage-free experience.
Take a small section of your natural hair from the row you created earlier.
Thread a micro bead onto the hair using a loop tool. Slide the bead close to the scalp, but don’t pull too tight.
Repeat this process along the entire row. Make sure beads are spaced evenly for a secure hold.
Use your extension pliers to clamp each bead gently. You want the bead to stay in place without pinching your hair.
Tip: Invisible bead extensions use lightweight beads that blend seamlessly with your hair. You won’t see them, even when you style your hair in a ponytail or braid.
The bead foundation distributes the weight of the extensions evenly. This reduces strain on your roots and keeps your natural hair healthy. You avoid heat and adhesives, so you get a damage-free experience.
Attaching Wefts
Now you’re ready to attach the Alpha wefts. This extension method gives you a natural look and makes your extensions move like your own hair.
Take an Alpha weft and align it with the row of beads.
Use cotton or nylon thread to sew the weft onto the beads. Start at one end and work your way across.
Keep your stitches tight but not too close to the scalp. You want the weft to sit flat and feel comfortable.
Double-check that the weft covers the beads completely. This ensures the invisible bead extensions stay hidden.
Alpha extensions are made from 100% full-cuticle Remy human hair. The cuticles stay intact and aligned, so your extensions stay silky and tangle-free. You get a blendable, soft finish that matches your natural hair. Alpha’s strict quality control means every weft looks and feels professional.
Note: You can style Alpha extensions with heat tools. They hold up well and keep their shine after washing.
Securing and Comfort
Finish your application by securing the wefts and checking for comfort. You want your invisible bead extensions to feel great and look undetectable.
Run your fingers along the row to check for bumps or loose beads.
Adjust any areas that feel tight or uncomfortable. The beads should sit snug but not pull on your scalp.
Make sure the wefts cover the beads completely. This keeps the extensions invisible in any hairstyle.
Brush your hair gently to blend the extensions with your natural hair.
Here’s what makes invisible bead extensions so comfortable:
Small, lightweight beads blend with your hair and stay hidden.
The method avoids heat and adhesives, so you protect your natural hair.
The bead track sits flat against your scalp, letting you wear ponytails or braids without discomfort.
Proper placement and adjustment keep your extensions secure for long-term wear.
“As a client, I’ve never worn more comfortable extensions in my life. I could immediately put my hair up in a ponytail comfortably, and I was sold.”
Alpha’s extensions are designed for durability and softness. They move naturally with your hair, so you get a seamless, undetectable finish. You can trust Alpha for a comfortable installation that lasts.
If you follow these steps, you’ll master how to install invisible bead extensions. You’ll enjoy a secure, natural look that boosts your confidence every day.
Blending and Aftercare
Blending Extensions

You want your invisible bead extensions to look flawless. Start by brushing your hair several times a day. Work in sections and begin at the ends. Use a sulfate-free shampoo to cleanse your roots. Gently squeeze suds through your extensions instead of scrubbing.
Apply hydrating conditioner to the mid-lengths and ends. Let it sit for five minutes before rinsing. Towel-dry by squeezing out excess water. Air-dry your hair until it’s almost dry before using a blow dryer. Always apply heat protectant before styling. Braid your hair at night to prevent tangling.
Use hair oil or serum on the ends for extra shine. Before swimming, use leave-in conditioner and style your hair in a braid or bun.
Tip: These steps help your invisible bead extensions blend seamlessly with your natural hair and keep them soft.
Styling Tips
You can style your extensions just like your own hair. Wash them two or three times a week with sulfate-free shampoo. Focus on your scalp and avoid attachment points. Apply conditioner from mid-lengths to ends. Use deep conditioning treatments once a week.
Brush gently two or three times daily with a soft-bristle brush. Never brush wet extensions. Detangle before washing or when your hair is almost dry. Braid your hair loosely before bed. Use heat protectant spray and keep styling tools below 400°F. Avoid heavy products near the beads to prevent slippage.
Styling Step | What to Do |
|---|---|
Washing | 2-3 times a week |
Conditioning | Mid-lengths to ends |
Brushing | 2-3 times daily |
Heat Styling | Protectant, <400°F |
Invisible Bead Extensions Maintenance Advice
Regular brushing and gentle washing keep your invisible bead extensions looking great. Avoid excessive heat. Use a swim cap or heat protectant when swimming or styling. Schedule maintenance appointments every six to eight weeks. These visits help your extensions stay secure and in good condition.
Follow care instructions from your stylist or manufacturer. With proper aftercare, your extensions can last six to twelve months. The best tips for maintaining your extensions include brushing, avoiding heavy products, and keeping up with maintenance appointments.
Callout: Consistent care extends the lifespan of your invisible bead extensions and keeps your hair healthy.
Common Mistakes to Avoid
Installation Errors
You want your invisible bead extensions to look natural and feel comfortable. Sometimes, mistakes happen during installation. Here are some common errors you should watch for:
Placing beads too close to the scalp can cause discomfort. Leave a small gap so your hair moves freely.
Using uneven sections leads to visible tracks. Always check your partings in the mirror.
Over-tightening beads may damage your hair. Clamp beads gently with pliers.
Skipping detangling before installation makes the process harder. Brush your hair thoroughly first.
Not covering beads with the weft leaves them exposed. Align the weft so it hides the beads completely.
Tip: Take your time with each step. If you rush, you might miss details that affect the final look.
Maintenance Issues
Invisible bead extensions need regular care to stay beautiful. If you skip maintenance, you might face problems like tangling or slipping. Here’s how you can avoid these issues:
Use the right detangling tools. Brushes made for extensions help prevent breakage.
Choose travel-friendly product kits for easy care on the go.
Wash your hair with sulfate-free shampoo, focusing on the scalp.
Apply nourishing conditioner from mid-length to ends. Avoid the roots to keep beads secure.
Maintenance Task | Frequency |
|---|---|
Move-up appointments | Every 7-10 weeks |
Hair extension lifespan | 6-12 months with proper care |
Regular brushing, gentle washing, and avoiding excessive heat prolong the life of your extensions. Schedule move-up appointments every 7-10 weeks. Clients who stick to these routines report fewer issues and longer-lasting results.
Callout: Consistent maintenance keeps your invisible bead extensions secure and helps you enjoy a flawless look every day.
Conclusion
You now know how to install invisible bead extensions with Alpha. Start with clean hair, section carefully, build your bead foundation, and attach the wefts. Use Alpha’s high-quality extensions for a seamless look. Stick to the aftercare tips for long-lasting results. If you follow these steps, you’ll get beautiful, natural hair every time.
Ready to transform your look? Trust yourself and enjoy your new confidence!
FAQ
How long does it take to install invisible bead extensions?
You can expect the process to take about 1.5 to 3 hours. The time depends on your hair length, thickness, and how many rows you want. If you’re new, set aside extra time to work carefully.
Can I wash and style Alpha extensions like my own hair?
Yes! You can wash and style Alpha extensions just like your natural hair. Use sulfate-free shampoo and conditioner. Always apply heat protectant before using hot tools. Brush gently to keep your extensions smooth and tangle-free.
How often should I schedule maintenance appointments?
Plan to visit your stylist every 6 to 10 weeks. These appointments help keep your extensions secure and looking fresh. Regular maintenance also prevents tangling and bead slippage.
Will invisible bead extensions damage my natural hair?
No, if you follow the right steps. Invisible bead extensions avoid glue and heat, so they protect your hair. Make sure you install and remove them gently. Stick to the aftercare routine for the best results.