When I first offered nail tip extensions, I assumed it would be just like applying other extensions. I was wrong. My first few clients had slipping bonds, uneven placement, and too visible bonds.
After refining our method, our salon’s extension services became one of our top revenue streams.
If you’re offering hair extensions professionally, getting the technique just right is non-negotiable. A flawless application means satisfied clients, repeat business, and premium service pricing.
This guide isn’t just theory—it’s based on real-world salon experience. I’ve spent years perfecting this method, training staff, and ensuring every client leaves with seamless, natural-looking extensions.
You’ll get:
- A precise, step-by-step breakdown of the application process
- Salon-tested tips for making the bonds last longer
- Solutions to common challenges professionals face
Let’s jump in!
Step#1 Gather Your Tools and Materials
Before you even touch a client’s hair, you need to be fully prepared.
Because here’s the truth—a flawless nail tip extension application starts before the first bond is fused. It begins with your setup. And in this industry, there’s no room for shortcuts.
I’ve learned this the hard way. Early in my career, I’d dive straight into the process, thinking I could just “grab as I go.” That always cost me time, sometimes even a client’s confidence. You don’t want to be fumbling for tools while your client is watching the clock—or worse, doubting your professionalism.
So here’s what you need on hand—before your client even sits in the chair:
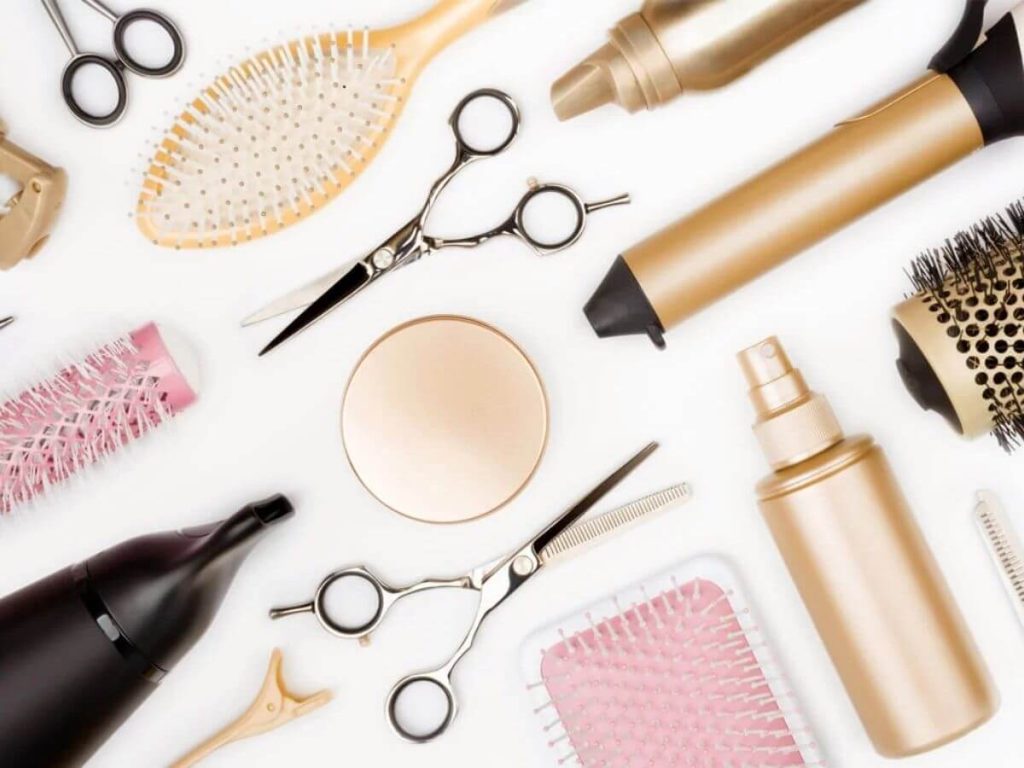
- Professional Heat Connector Tool: Specifically designed for keratin bond application
- Keratin Nail Tip (U-tip) Hair Extensions: High-quality, pre-bonded, ethically sourced
- Heat-Resistant Comb and Sectioning Clips: For clean, controlled parting
- Extension Separator Discs: To protect the scalp and isolate sections
- Heat-Protective Finger Guards or Pliers: To shape the bond without burning yourself
- Tail Comb: For precise sectioning
- Loop Brush or Wide-Tooth Comb: To prep and detangle
- Salon-Grade Clarifying Shampoo: No conditioner, no oils
If you’re working with a team, make sure everyone has access to the same quality materials. Consistency in tools leads to consistency in results.
This isn’t just about being “ready.” It’s about showing up as a professional, prepared to deliver a premium service your client will talk about long after they leave your chair.
Step#2 Prepare the Client’s Hair
This step might look simple, but it’s one of the most important parts of the entire process.
If the hair isn’t prepped right, the bonds won’t hold. Full stop.
I’ve seen stylists skip this or rush through it—then wonder why the extensions started slipping within a week. It’s not just about making the hair look clean. It’s about creating the right foundation for the keratin to bond properly. Here’s what proper prep looks like:
- Clarify Thoroughly: Wash the client’s hair with a salon-grade clarifying shampoo to remove buildup, oil, or product residue. No conditioner. No leave-ins.
- Dry Completely: Blow-dry the hair 100%—no damp spots. Moisture weakens the bond and can lead to slippage.
- Detangle Fully: Use a loop brush or wide-tooth comb to remove knots and smooth the strands.
- Check Scalp Health: Look for irritation, excess oil production, or sensitivity. If the scalp isn’t healthy, postpone the service.
You want your client’s hair to feel clean, lightweight, and free of any product. No slip, no residue. Just a strong, reliable base.
Step#3 Section and Position the Extensions
Here’s where your technique starts to shine.
Precision matters here more than anywhere else, because how you section and place your extensions determines everything that follows: the blend, the comfort, and the longevity of the bonds.
I’ve had new team members with great hands-on skills struggle at this stage simply because they rushed their sections. And trust me, nothing throws off the final result faster than poorly placed extensions.
Follow these key steps for clean sectioning and smart placement:
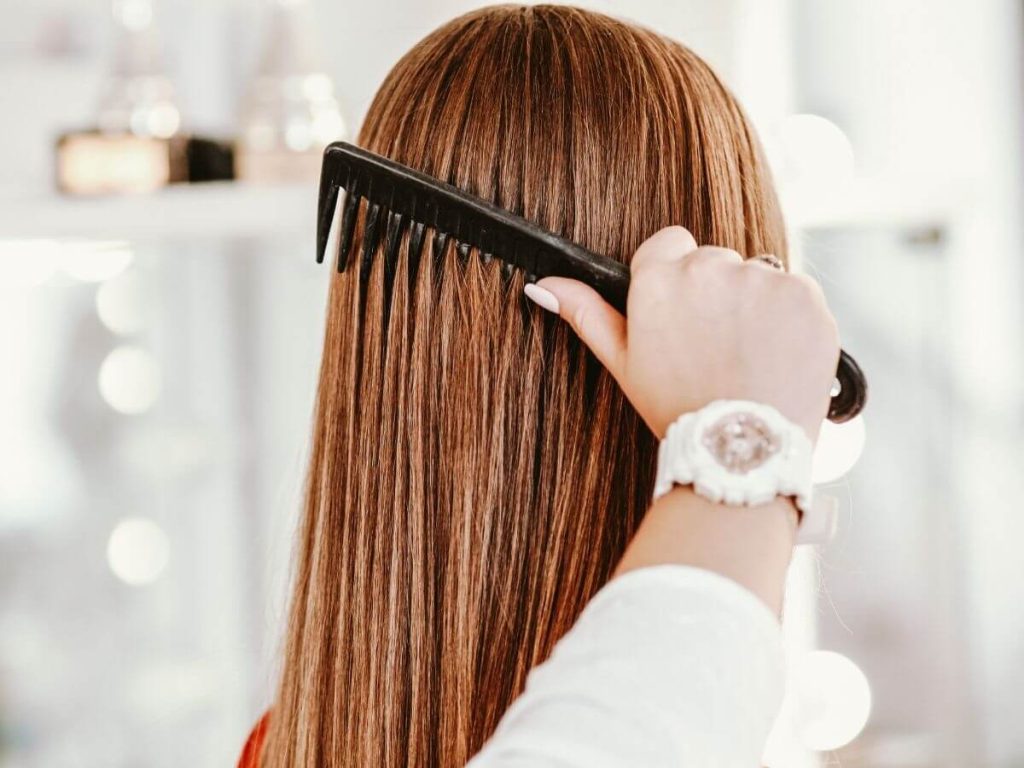
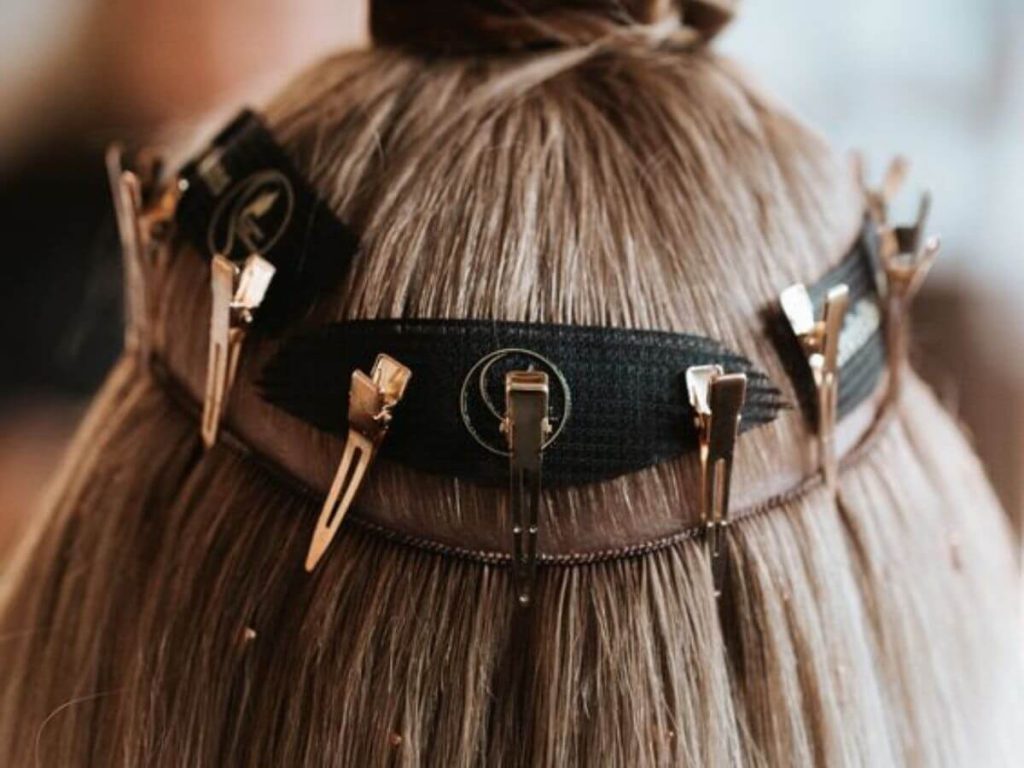
- Start from the Bottom: Begin at the nape and work your way up. Keep upper layers clipped out of the way for a clean working area.
- Use a Tail Comb: Part hair in thin, horizontal rows to expose each new working section.
- Use Separator Discs: Place a disc over the scalp to isolate a small section and protect the client’s skin from heat.
- Match the Strand Size: The natural hair section should be about the same size as the nail tip strand—not too thick, not too thin.
- Leave Room at the Scalp: Position the extension about 1 cm away from the scalp so it can move freely without pulling or causing tension.
What you want is symmetry, control, and structure. Every bond should fall in a natural direction and mirror the next—no crowding, no gaps, no stress points.
Step#4 Heat Fusion Bonding
This is the part your client doesn’t see up close—but it’s the part they’ll feel every single day they wear those extensions. If your bonds are too loose, they’ll slip. Too tight, and they’ll cause tension or breakage. Nail tip extensions depend on the precision of this moment.
When I first started, I was nervous with the heat tool. I under-heated the keratin, or I rushed the roll. The result? Weak bonds and re-dos I couldn’t charge for. That changed fast once I dialed in my technique and trusted the tools. Here’s how to get a clean, secure bond every time:
- Use a Pro Heat Connector: Hold the keratin tip in the connector for a few seconds—just enough to melt it. Don’t overheat.
- Position With Intention: Place the melted bond gently over the natural hair section (already isolated with a separator disc).
- Roll While It’s Hot: Use your fingers (with heat guards) or pliers to roll the melted keratin into a smooth, cylindrical shape around the natural hair.
- Hold for a Few Seconds: Let it cool and set before moving to the next bond. Rushing this step is where most slipping starts.
- Check the Feel: The bond should be firm but flexible, not sticky, flat, or overly stiff.
The goal? A bond that’s strong enough to last 8–12 weeks but light enough that the client forgets it’s even there.
Step#5 Perform a Final Quality Check
Now’s the time to slow down and take a close look. You’ve done the prep. You’ve sectioned, bonded, and rolled each strand with care. But before moving on, you need to be 100% sure everything is secure, symmetrical, and salon-quality. No guessing. No assumptions.
I make this step non-negotiable in my salon. Because it’s easier to fix a bond now than have a client call back in a week saying, “Hey, one fell out.” Here’s what to check—every time:
- Bond Security: Gently tug on a few extensions across different rows. Each one should feel firm and well-attached.
- Scalp Comfort: Ask the client how it feels. There should be no pinching, pulling, or tightness.
- Spacing Between Bonds: Make sure there’s consistent spacing so hair can move naturally and lie flat.
- Clean Placement: Look for any overlapping strands, messy bonds, or keratin residue. Fix now, not later.
- Weight Distribution: Step back and look at the whole head. Everything should look balanced, no heavy spots, and no uneven fullness.
Take Note Your Findings
Take a moment to note anything unusual scalp sensitivity, uneven hair growth, or custom placement requests. Communicate this to your team or log it in your client records. This makes future appointments smoother and more consistent.
It also sends a clear message: you’re not just applying extensions, you’re building a professional, repeatable service your business can grow on.
Once everything checks out, you’re ready for the finishing touch, blending, and styling to bring the full look to life.
Step#6 Blending and Styling
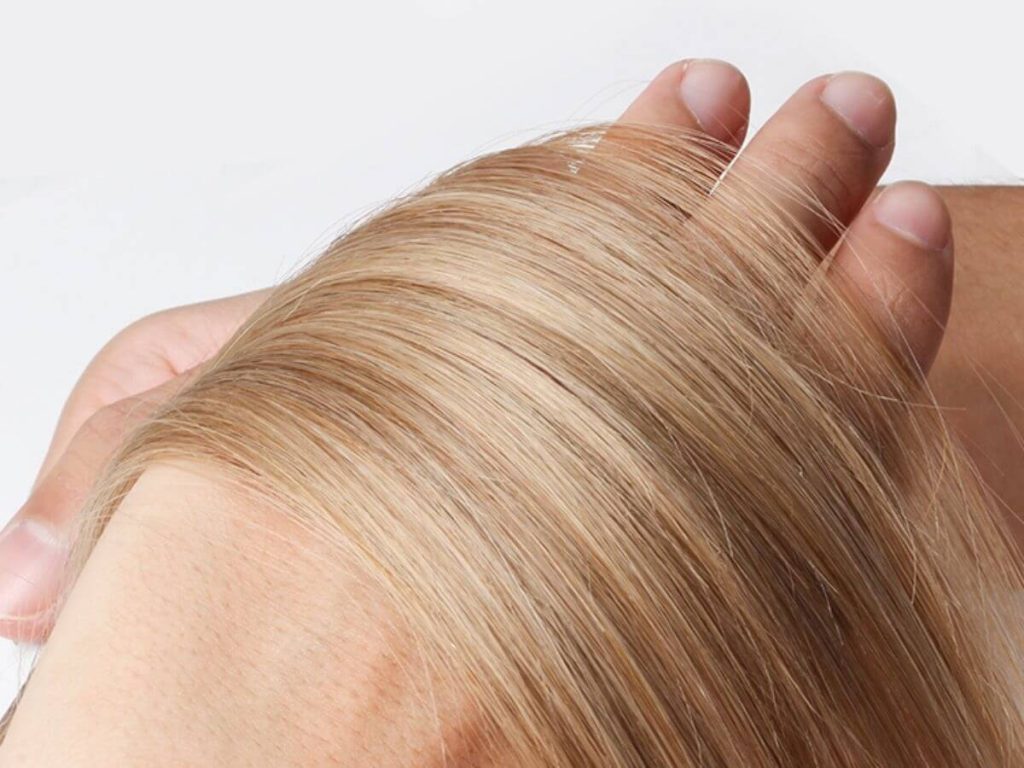
This is where the transformation truly comes to life. You’ve done the technical work. Now, it’s about making sure the client doesn’t just feel the difference, they see it.
Blending and styling isn’t just a finishing step. It’s your signature. It’s how you ensure the extensions look like they’ve always been there. And trust me, clients can spot a bad blend from across the room.
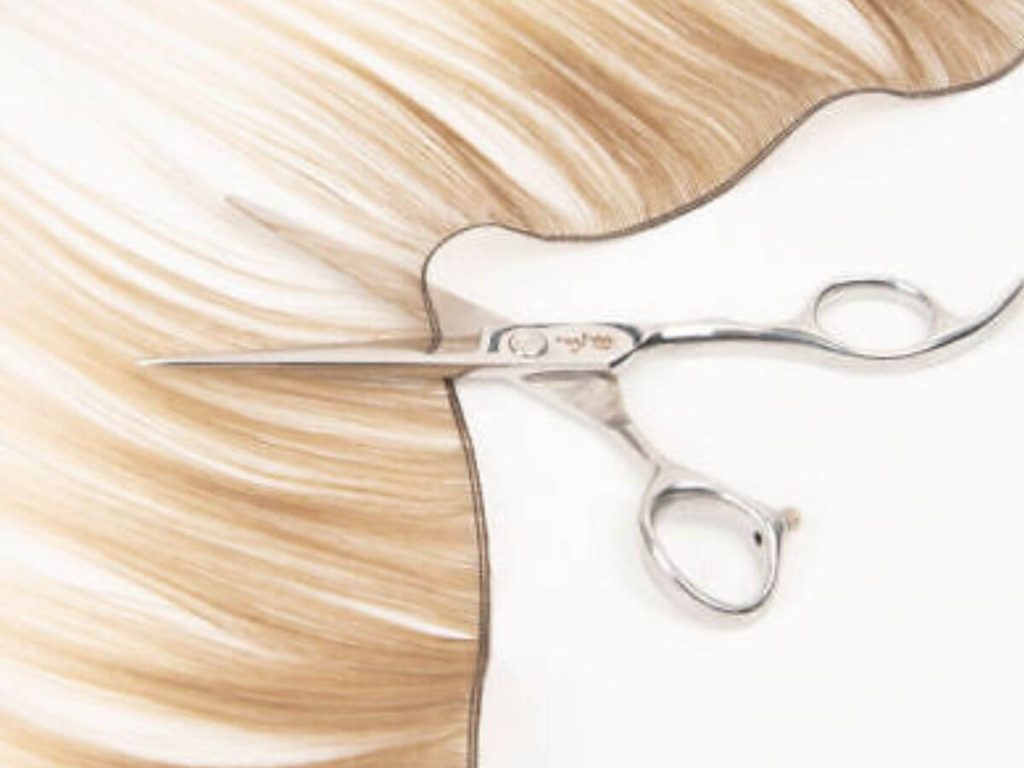
Trim and Shape
Start with a dry cut using shears or a razor—whichever tool gives you the most control. Focus on removing harsh lines and blending natural hair with the extensions so it all flows together. Pay attention to the front sections and the perimeter. That’s where the eye goes first.
- Pro Tip: Don’t cut in straight lines. Use soft, angled snips or point-cutting to mimic natural movement.
Style to Reveal Any Gaps
Before you hand over the mirror, give the hair a full style—blowout, waves, or straight, depending on the client’s preference. This is where imperfections will reveal themselves—uneven layering, visible bonds, or weight lines. Take this moment to adjust. You’ll earn serious trust when clients see you catching things before they do.
Educate as You Style
This is a powerful moment to build loyalty. While styling, walk the client (or your team, if you’re training) through:
- How to brush without tugging the bonds
- Where to apply heat—and where not to
- What products to avoid (especially around the keratin)
- How to wear it while sleeping or exercising
It’s not just customer service—it’s brand-building. When you educate with confidence, clients come back. And they refer.
Conclusion
We walked through every step—from prepping the hair to blending the final look. You now know what tools you need, how to section with purpose, and why heat fusion bonding is the backbone of a long-lasting result.
Remember how I struggled early on? That changed when I committed to doing it right—and clients noticed. You can do the same.
Ready to elevate your extension service?
Let’s talk about how we can support your team’s training—contact us today.
Explore Related Resources
If you need more options, take a look at our full range of products. You might find just what you need:
Still haven’t found what you’re looking for? Don’t hesitate to contact us. We’re available around the clock to assist you.


