

Halo hair extensions are an easy and versatile way to add length and volume without damaging your natural hair. Making your own halo extensions allows you to customize the length, color, and density to match your style perfectly. With the right tools and technique, anyone can create a seamless look.
Creating halo extensions at home can be a fun and rewarding project. By following a few simple steps—measuring, cutting, and securing the hair—you can achieve professional-looking results. Homemade halos are also cost-effective, allowing you to experiment with different styles without investing in expensive salon products.
What are Halo Hair Extensions?
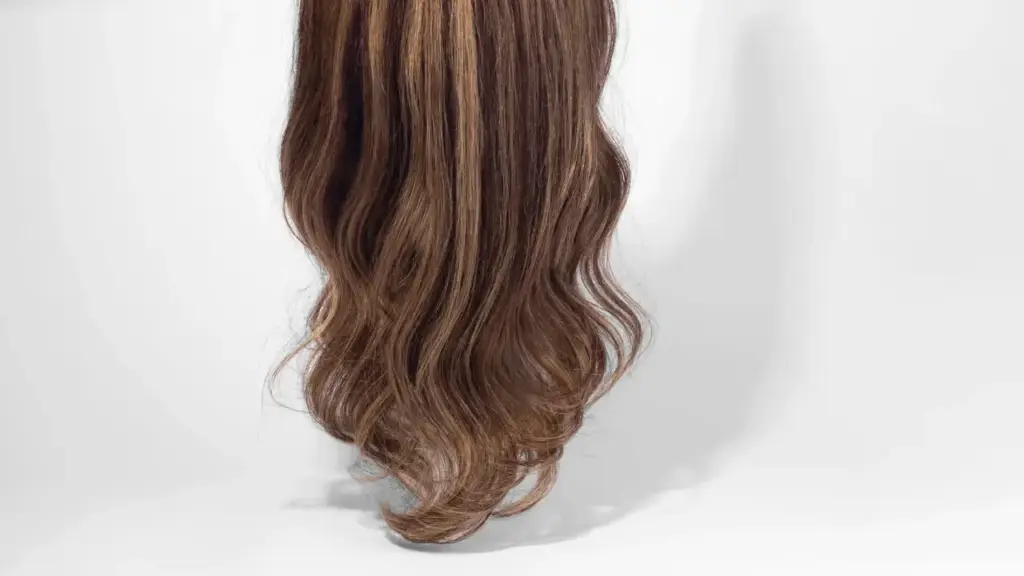
Halo hair extensions are a type of hairpiece designed to add instant length and volume without the need for clips, glue, or tape. They feature a thin, invisible wire that sits comfortably on the crown of your head, while the hair cascades naturally over your own. This makes them quick and easy to wear for any occasion.
These extensions come in various lengths, colors, and textures, allowing you to match them perfectly to your natural hair. They are reusable, gentle on your scalp, and versatile enough to style with heat tools. Halo extensions are ideal for achieving a natural, full-bodied look in minutes.
How to Make Halo Extensions?
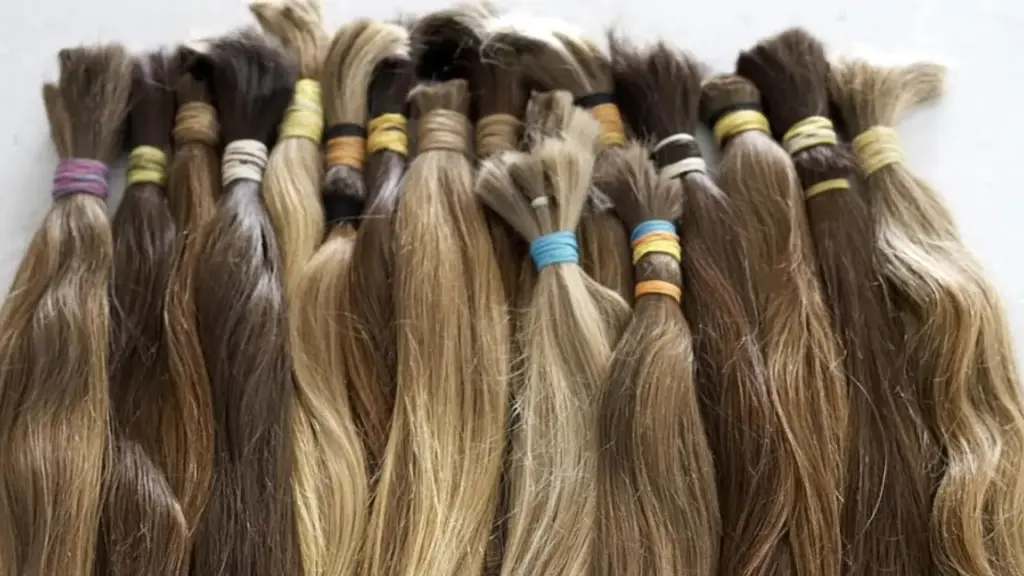
Creating your own halo hair extensions allows you to achieve customized length, volume, and color while saving money. Making extensions at home can be fun, creative, and practical if done correctly. With the right materials, preparation, and step-by-step technique, you can craft halo extensions that look professional and blend seamlessly with your natural hair.
Tools Needed
- Human or high-quality synthetic hair wefts
- Measuring tape
- Sharp scissors
- Needle and strong thread (matching hair color)
- Comb or hairbrush
- Flexible wire for the halo base
- Clips to hold hair in place
- Optional: soft tape or ribbon to cover wire
Step 1: Measure Your Head
Begin by measuring the circumference of your head where you want the halo to sit, usually from temple to temple around the crown. Accurate measurements are essential to ensure the halo fits snugly but comfortably, preventing it from slipping or digging into your scalp.
After measuring, mark the start and end points on the wire. This will guide where the hair will be attached and help you maintain symmetry. Taking careful measurements at this stage ensures your final halo sits evenly and comfortably, providing a professional, natural look.
Step 2: Select and Prepare Hair
Choose high-quality hair wefts that match your natural hair in color, texture, and length. Human hair is preferable for styling versatility, while synthetic hair works for temporary or cost-effective options. Cut the wefts to match your head measurement, leaving extra length for adjustments.
Brush the hair thoroughly to remove tangles and separate strands for easy handling. Organize it into sections according to where it will be attached to the wire. Proper preparation prevents uneven layers and ensures the hair will lay smoothly when attached.
Step 3: Shape the Wire Base
Take a flexible but sturdy wire and bend it to match your head’s measured circumference. The ends should meet securely at the back to form a comfortable circular base. Ensure the wire is neither too tight nor too loose for comfort and stability.
Cover the wire with soft tape, ribbon, or a thin layer of cloth to protect your scalp. A well-shaped wire ensures the halo sits flat against your head, supporting the hair evenly and maintaining a natural appearance when worn.
Step 4: Attach Hair to the Wire
Start sewing the hair wefts onto the wire using small, tight stitches. Work in sections, layering the hair to create natural volume. Avoid overstuffing the wire; thin, even layers look more natural and move better with your own hair.
Check that the hair is evenly distributed along the wire, adjusting lengths if necessary. If you’re using multiple wefts, alternate layers for fullness. This careful attachment ensures durability, a natural fall, and prevents hair from sliding off the halo during wear.
Step 5: Check Fit and Adjustments
Try on the halo to assess how it sits. Ensure the wire rests comfortably at the crown and that the hair blends naturally with your scalp. Adjust the wire’s shape or hair placement if it pinches or tilts.
Trim any excess hair or uneven ends for a polished finish. Smooth the strands with a brush or comb and make any last-minute adjustments to layers. Ensuring proper fit and hair distribution now guarantees comfort, appearance, and long-lasting use.
Step 6: Style the Halo Extensions
Blend the halo extensions with your natural hair using a comb, brush, or heat styling tools if your hair is heat-friendly. Curling or straightening helps achieve a seamless, salon-quality look. You can style the extensions in waves, curls, or leave them straight depending on your preference.
Add finishing touches such as hair accessories, light hairspray, or serums to enhance shine and maintain style. Well-styled halo extensions will look natural, add volume and length, and provide a versatile solution for everyday wear or special occasions.
Step 7: Maintenance Tips
To prolong the life of your halo extensions, wash gently with sulfate-free shampoo and condition carefully. Store the halo in a clean, dry place, preferably in a box or on a hanger, to prevent tangling. Brush before and after each wear to maintain smoothness and natural appearance.
Avoid excessive heat or harsh chemicals, which can damage both synthetic and human hair. Regular maintenance ensures your homemade halo extensions remain soft, shiny, and manageable for repeated use, giving professional results every time.
What Are Halo Extensions Made Of?
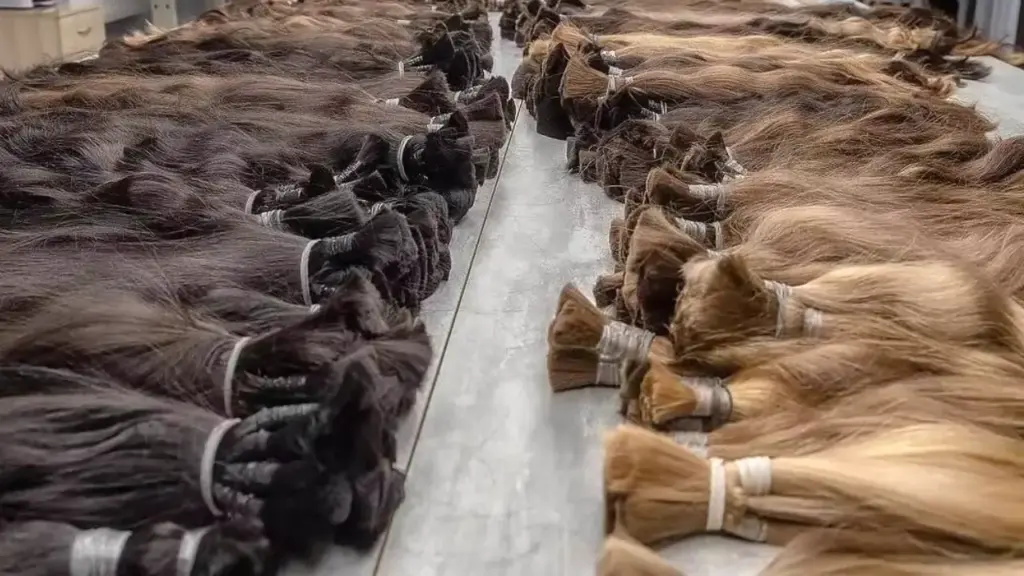
Halo extensions are designed to add instant length and volume to your hair while remaining lightweight and easy to wear. They are made from high-quality materials that ensure durability, natural movement, and a seamless blend with your own hair. Choosing the right type of hair is key for a natural, long-lasting look.
- Human hair for styling versatility
- Synthetic hair for budget-friendly options
- Soft wire for comfortable placement
- Thread or glue for secure attachment
- Optional protective covering for the wire
Human hair halo extensions are made from real human hair, allowing you to curl, straighten, and style them just like your natural hair. They offer a realistic look and feel, are reusable, and can last for months with proper care. These are ideal for anyone seeking premium, natural-looking results.
Synthetic halo extensions are crafted from high-quality synthetic fibers that mimic the look and texture of natural hair. They are more affordable and lightweight but may have limitations with heat styling. Synthetic options are great for temporary use or for experimenting with new styles and colors without commitment.
Are Halo Extensions Damaging to Hair?
Halo hair extensions are generally considered one of the safest types of extensions because they do not require glue, tape, or heat for installation. They sit gently on the crown of your head, making them ideal for adding volume and length without putting stress on your natural hair.
- No glue or tape required
- Easy to remove and reposition
- Lightweight and comfortable to wear
- Minimal tension on hair strands
- Suitable for all hair types
Since halo extensions rest on a thin wire above your scalp, they do not pull on roots or damage the hair shaft. Proper placement and gentle handling are essential, ensuring that hair remains healthy while still allowing you to enjoy long, voluminous styles effortlessly.
Improper use or wearing halo extensions too tightly may still cause minor stress on certain hair types. Regular breaks between wearing, careful removal, and proper maintenance help prevent tangling, breakage, or unnecessary strain, keeping your natural hair strong and healthy over time.
Conclusion
Making your own halo hair extensions gives you full control over your hairstyle, ensuring a perfect fit and natural appearance. With practice, you can create multiple halos for different occasions, adding versatility and glamour to your look without relying on salon visits.
Using hair is key to achieving durable, long-lasting halo extensions. For the best results, consider purchasing premium hair from trusted suppliers. Proper care, including gentle washing and styling, will keep your extensions soft, shiny, and tangle-free for repeated use.
For those looking for wholesale halo hair extensions, Alphahair offers a wide selection of premium options. Whether for personal use or resale, our extensions provide quality, affordability, and a natural finish. Shop with Alphahair to create beautiful, professional-looking halo extensions every time.



