When I first got into the hair industry, I pictured hair products being created in high-tech labs, mixed by scientists using complex formulas.
But after working closely with manufacturers, I realized the process isn’t as mysterious as it seems. In fact, once you break it down, it follows a clear structure.
If you’re looking to develop your own line or choose the right products for your business, understanding how hair products are made can give you an edge. It’s not just about what goes into a bottle—it’s about the steps that turn raw ingredients into high-quality formulas.
In this guide, I’ll walk you through the entire process—from ingredients and formulation to testing and packaging. No confusing jargon, just practical insights you can actually use.
By the end, you won’t just sell or use hair products—you’ll understand them.
Let’s get started!
Step# 1: Ingredient Selection and Sourcing
When I started working with manufacturers, I thought formulas were all about magic. But the truth? It begins with the basics—what’s going into the product.
Before you look at ingredients, you need to decide one thing:
Identify the Product Type First
Each type of product needs different ingredients. A shampoo needs something to cleanse. A serum needs oils. A leave-in needs lightweight moisturizers that won’t weigh hair down.
Think about what you’re offering and who it’s for. Dry hair? Oily scalp? Curly textures? These details shape your entire formula.
Choose Raw Ingredients
- Base Ingredients These make up most of the formula. Common ones include:
- Water (used as a solvent to dissolve other ingredients)
- Surfactants (like sodium lauryl sulfate) for cleansing
- Emulsifiers to blend oil and water together
- Active Ingredients These give your product its purpose. Some examples:
- Hydrolyzed proteins (for strength)
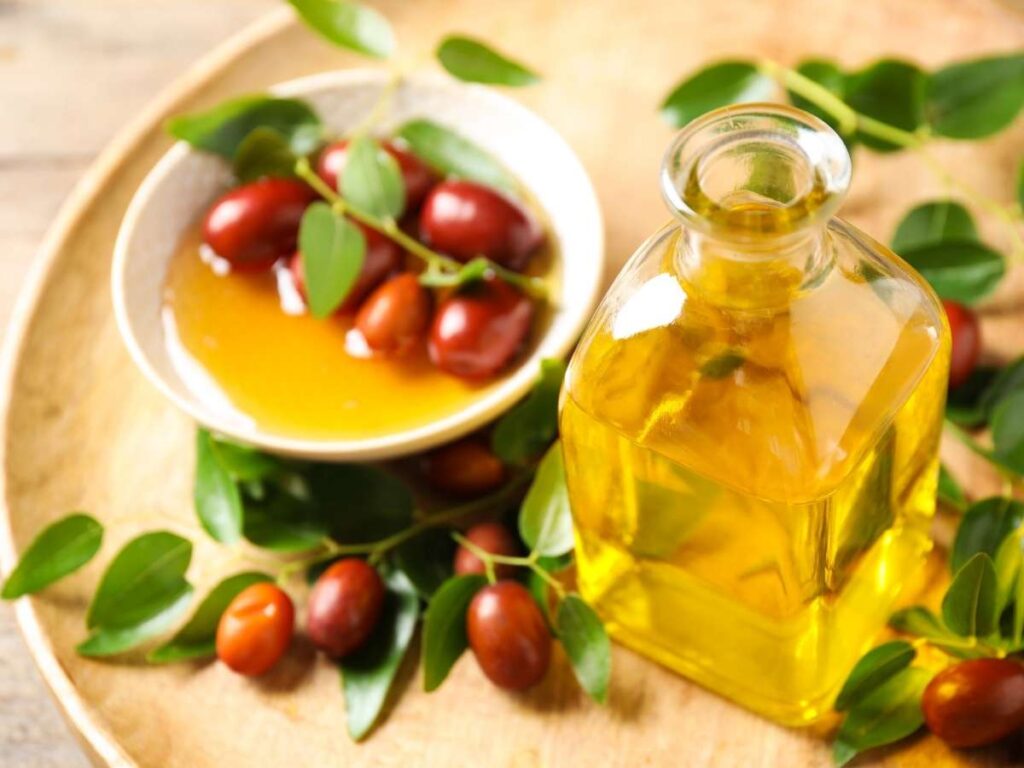
- Natural oils like argan or jojoba (for shine and moisture)
- Vitamins like B5 or E (to support hair health)
- Functional Additives These help with texture, shelf life, or performance.
- Thickeners (to make the product feel rich)
- Stabilizers (so it stays blended)
- Preservatives (to prevent bacteria and mold)
- Fragrance and Colorants Optional, but often included for user experience.
Ask yourself—what do you want this product to do?
Sourcing
This step matters more than people think.
Ingredients should come from verified suppliers—chemical labs or natural extract producers that follow safe practices.
You’ll need documents like:
- COA (Certificate of Analysis) – shows what’s inside
- MSDS (Material Safety Data Sheet) – shows how to handle it safely
These documents are required for testing, packaging, and legal use.
I learned early on: Don’t skip this. One time, a supplier sent oil that smelled off—and the whole batch had to be scrapped. That mistake cost time and money.
Always source carefully. It’s the foundation of every great hair product.
Step# 2: Formula Development
Once your ingredients are ready, the real creation starts in the lab. This is where the formula is mixed, tested, and refined.
It begins with a small batch. Usually between 100 to 1000 ml. That’s enough to test the formula without wasting ingredients. At this stage, chemists follow precise measurements. Every ingredient is weighed, sometimes heated, and then blended using exact percentages. A slight change—just 0.5%—can affect how the product feels or works.
Lab-Scale Mixing Begins
The lab team carefully mixes your chosen ingredients. Some may need to be melted. Others must be added slowly to blend correctly. These early samples help check if the base formula works before moving forward.
Trials and Tweaks
This is where things get interesting. Chemists create multiple versions, also called iterations. Each one is adjusted to test things like:
- Texture – Is it creamy or runny?
- Viscosity – How thick is it?
- pH level – Is it safe for the scalp?
- After-feel – Does it rinse clean? Leave the hair soft?
Initial Testing (In-Lab Only)
- A pH meter measures acidity
- A viscometer checks thickness
- Freeze/thaw testing checks if the formula holds up in hot and cold temps
These tests help avoid problems later. I’ve seen batches fail because pH was off or the formula separated in heat. Fixing those issues now saves time and money down the road.
Want a product that works? It starts with careful lab testing.

Step# 3: Pilot Production (Small-Batch Testing)
Once the lab formula is approved, it’s time to see if it works outside the lab. That means making a pilot batch.
Think of this as a test run. You’re scaling up the formula to make sure it behaves the same way in bigger amounts. This step helps catch any surprises before you go into full production.
Scale Up the Formula
In the lab, you might’ve worked with 500 ml of product. Here, you’re jumping to 5 to 20 kilograms.
Why? Because small formulas don’t always behave the same at scale. Heating, mixing, and even ingredient reactions can change when done in larger volumes.
I once worked with a client whose conditioner turned watery at this stage. The formula looked perfect in the lab, but the larger batch didn’t hold its texture. We had to go back, tweak the emulsifier level, and try again.
Use of Manufacturing Equipment
This is the first time your product is made using real production tools like:
- Heating mixers – warm the formula evenly so ingredients blend
- Homogenizers – break down particles for a smooth, stable mix
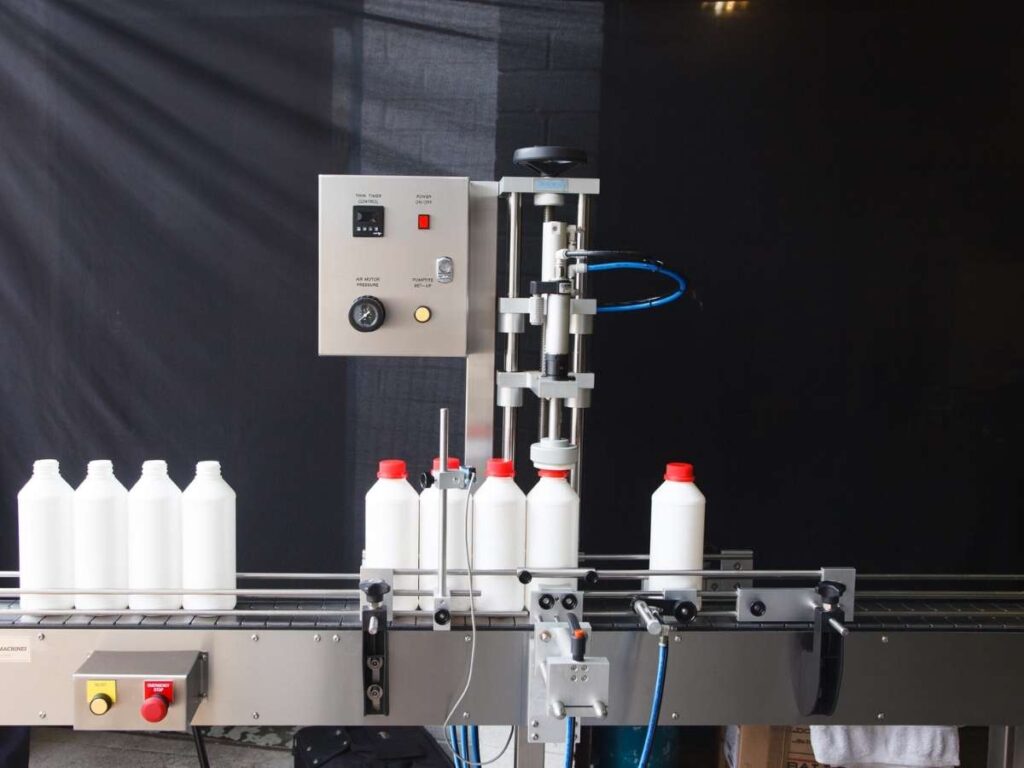
- Filling machines – fill jars or bottles with accurate amounts (manual or semi-auto)
If you’re planning to work with a contract manufacturer, they’ll handle these steps. But it’s still smart to be involved. Ask questions. Watch how your formula behaves.
Observe Everything
During pilot production, keep a close eye on:
- Stability – Does it stay mixed or start to separate?
- Settling – Are ingredients sinking to the bottom?
- Packaging flow – Does it fill easily?
- Shelf appearance – Does the product look smooth, clear, or consistent?
This step is where your product starts to feel real. Don’t skip it. A good pilot batch gives you the confidence to move forward—and avoid costly mistakes.
Step #4: Stability and Safety Testing
Now that your product has passed the pilot batch, it’s time to test how well it holds up. This isn’t just about looks. It’s about safety, shelf life, and how your formula reacts over time.
I used to think once the product was mixed, it was good to go. But I quickly learned—things change. Creams can separate. Oils can spoil. And no one wants to sell something that grows mold or irritates skin.
Long-Term Simulation
To test stability, samples are placed in controlled environments that mimic real-life conditions. This step usually lasts 1 to 3 months.
Chemists test how the formula holds up under:
- High heat (like a product left in a hot car)
- Cold temperatures (shipping in winter)
- Light exposure (sitting on store shelves)
They check for signs of failure, like:
- Separation or clumping
- Changes in smell
- Changes in color
- Signs of bacterial or fungal growth
If any of these show up, the formula may need adjustments. For example, more preservatives or a more stable oil.
Microbiology Testing
Even if the product looks good, it still needs lab testing to confirm it’s safe. These tests are usually done by third-party labs.
Here’s what they check:
- Preservative Efficacy Test (PET) – Makes sure bacteria, mold, and yeast don’t grow inside your product
- Microbial Count – Measures how many microorganisms are present
- Patch Test – A small amount is tested on human skin to check for irritation or allergic reactions
I’ve seen patch tests catch formulas that were fine in the lab—but irritated real users. That’s why this step matters.
If you skip safety testing, you’re guessing. And in business, guessing can cost more than just money—it can hurt your brand.
Step #5: Packaging Filling and Label Application
Once your product passes testing, it’s ready for packaging. This is where things start to feel real. Your formula gets bottled, labeled, and prepped for shelves or shipping.
The first time I saw this process, I was surprised by how much goes into it. It’s more than pouring product into a bottle. Every step matters—from the container to the label placement.
Packaging Materials Are Prepared
Before anything is filled, all your packaging must arrive at the production facility. That includes:
- Bottles
- Jars
- Tubes
- Pumps or caps
Each part is unpacked, cleaned, and lined up for use.
Labels are also prepared in advance. They’re either pre-printed on rolls or made on-site using approved artwork and ingredients.
Have you already picked your packaging type? Think about your target customer. A pump bottle might work better for shampoo. A jar may suit a thick hair mask.
Bulk Product Is Transferred
Once the containers are ready, the product is moved from large mixing tanks into the filling system.
This part is all about precision. The filling machine is adjusted to match your product’s texture.
- Shampoos and conditioners flow easily.
- Serums or creams may need slower, more controlled filling.
Getting this step right prevents spills, air bubbles, and waste.
Sealing and Coding
After filling, each product is sealed. This could mean:
- Tightening caps
- Applying heat seals (a protective film under the lid)
Then, it’s time for batch coding. That includes:
- A batch number for traceability
- An expiry date, usually stamped or printed on the bottom
These details are required by most retailers and regulators.
Labeling
Finally, your product is labeled. This can be done:
- By hand – often for small batches
- With automatic machines – for large-scale runs
I once helped a brand hand-label 2,000 bottles. It was slow, but it taught me to double-check every design and ingredient spelling. Mistakes here mean reprinting—and that adds cost.
Packaging is your product’s first impression. Make it count.
Step #6: Final Inspection and Quality Control
The last step before your product hits the market is all about checking the details. Even the best formulas can fall short if the packaging is off or something slips past the eye. That’s where quality control comes in.
When I first watched a quality check in action, I was amazed at how much they catch. A tilted label. A missing seal. Even a bottle that felt just a little too light. These small things matter—especially if you’re selling in stores or online.
Quality Control Teams Check
At this stage, trained staff review every part of the finished product. They look for issues like:
- Bottle fill weight – Is each bottle filled to the right level?
- Label alignment – Is the label straight, centered, and bubble-free?
- Product appearance – Any clumping, separation, or air pockets?
- Packaging tightness – Are caps secured? Seals intact?
Each line worker may be assigned a specific task to speed up the process while keeping accuracy.
I once visited a facility where someone noticed a tiny scratch on a batch of bottles. They stopped the line until it was fixed. That’s the kind of attention that builds trust with customers.
Random Samples Pulled
Even after the batch is packed and boxed, random samples are pulled and saved.
These are called retain samples.
They’re stored by the manufacturer in case of a future complaint, return, or audit. It helps trace where and when a batch was made—and whether anything changed after shipping.
These samples are often re-checked at intervals like:
- 1 month
- 3 months
- 6 months
They’re tested for stability, appearance, and performance to catch any long-term issues. For example, a natural oil might go rancid or separate over time if not properly preserved.
Final inspection isn’t just about fixing problems. It’s about catching them before your customer does.
If you want your product to build a solid reputation, this step matters more than you might think. I’ve learned that real quality shows up in the details—and your buyers will notice too.
Conclusion
You’ve seen the full process—from raw ingredients to the final product. Now, you know what it takes to create hair products that stand out.
I once thought this industry was complicated, but after working with manufacturers, I learned that success comes from understanding the steps and making informed choices.
So, what’s next for you? Will you choose better products for your business?
If you’re ready to take action, contact us today!
Check Out These Additional Resources
If you’re searching for more choices, explore our full collection of products. We’ve picked out some great options for you:
- Hair Extension Tools/Accessories
- I-Tip Hair Extension / Stick Tip Hair Extension
- Tape Hair Extension
- Genius Weft/Flat Weft Extension
Still haven’t found what you’re looking for? Don’t hesitate to contact us. We’re available around the clock to assist you.
