

Braiding hair extensions can instantly elevate your style, offering versatility, volume, and a polished look when done correctly. Understanding the right techniques and essential precautions helps you achieve smooth, secure, and long-lasting braids. This guide explains the key dos and don’ts for braiding extensions while protecting your natural hair.
Whether you’re using synthetic or human hair extensions, proper preparation and handling make a major difference. From sectioning and tension control to aftercare and maintenance, learning best practices ensures flawless results. This introduction sets the foundation for braiding safely, comfortably, and beautifully every time.
Why Braiding Hair Extensions?
Braiding hair extensions offers a versatile and protective styling option that enhances both length and volume. It helps keep your natural hair secure, reduces daily maintenance, and opens the door to countless creative looks. Whether you want sleek, simple braids or intricate designs, extensions make styling easier, longer-lasting, and more customizable.
- Adds Length and Volume – Braiding extensions instantly boost fullness and length, giving you the freedom to create more defined styles. This extra density also helps braids appear neater and more structured, offering a polished finish that holds its shape throughout the day without losing form or looking thin.
- Protects Natural Hair – Braids help shield your natural strands from friction, heat, and environmental stress. When extensions carry the tension and manipulation instead of your own hair, you reduce breakage and dryness while promoting healthier growth. This makes braided extension styles ideal for long-term protective care.
- Offers Style Versatility – Hair extensions allow a wider range of braid types, from box braids to goddess styles and intricate patterns. The added length and flexibility make experimenting easier, letting you switch between casual, elegant, or trendy designs while maintaining a consistent and long-lasting finish.
- Reduces Daily Maintenance – With braided extensions, your styling routine becomes much simpler. Once installed, the braids remain tidy and manageable, cutting down on detangling and restyling time. This convenience is especially beneficial for busy schedules, travel, or anyone wanting a low-maintenance yet stylish look.
- Improves Style Longevity – Extensions help braids last longer by maintaining structure and reducing frizz. The added fiber supports consistent tension, preventing the braids from loosening prematurely. This extra durability ensures your hairstyle stays neat and attractive for weeks, maximizing both beauty and practicality.
How to Braid Hair Extensions?
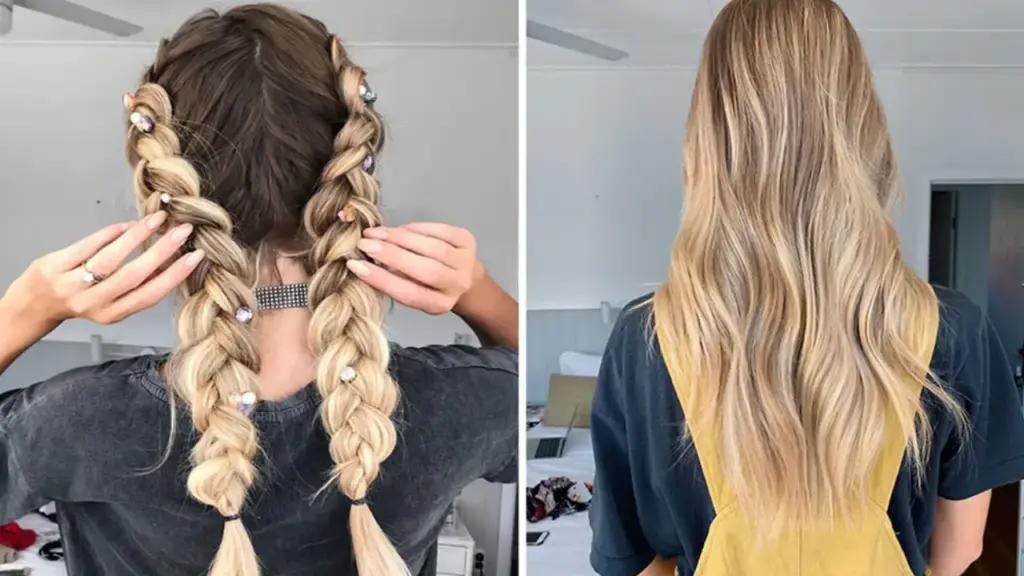
Learning how to braid hair extensions helps you create polished, long-lasting styles while keeping your natural hair protected. Whether you are using synthetic or human hair extensions, the braiding process follows a few simple steps. By preparing the hair properly, sectioning carefully, and maintaining even tension, you achieve clean, secure, and beautiful braids every time.
Tools Needed
- Rat-tail comb
- Hair clips
- Detangling brush
- Styling gel or mousse
- Elastic bands
Step 1: Prepare the Hair
The first step is preparing both your natural hair and extensions to ensure a smooth braiding process. Begin by washing, conditioning, and thoroughly detangling your hair to remove knots. Pre-stretch or detangle the extensions as well, making sure they are soft and easy to blend before you start forming each braid section.
Preparing the hair also means applying a light leave-in conditioner or smoothing product to reduce frizz and increase control. This added moisture helps both your natural hair and extensions braid more cleanly, allowing you to maintain consistent tension. Taking time to prepare ensures the braids look neat, last longer, and stay comfortable without slipping or unraveling.
Step 2: Section the Hair
Next, section the hair into clean, even parts using a rat-tail comb to create the foundation for uniform braids. Clip away surrounding hair and ensure each section is clearly divided. The more precise your sectioning, the easier it becomes to achieve symmetrical braids that align perfectly and maintain a polished, professional appearance.
Careful sectioning also prevents overcrowding and uneven tension, which can lead to discomfort or messy results. A well-planned grid pattern keeps the braids organized, ensuring they lie flat and blend naturally with added extensions. Spending time on neat sectioning helps create long-lasting braids that remain smooth, structured, and visually balanced.
Step 3: Add the Extensions
Begin adding extensions by placing the hair piece at the base of your natural section and dividing both into three equal strands. Make sure the extensions feel secure before starting the braid. Smooth your fingers down the hair as you prepare to interlock the strands, ensuring everything blends well and stays tangle-free during the process.
Adding the extensions properly ensures a seamless appearance and prevents bulky or uneven areas within the braid. Lightly applying gel or mousse can help bond the natural hair with the extension fibers. This creates a uniform look, maintains consistent tension, and allows the braids to hold their shape beautifully without separating or slipping loose.
Step 4: Begin Braiding
Start braiding by crossing the outer strands over the middle one, keeping a steady rhythm as you move downward. Maintain even tension so the braid stays tight but comfortable. Work slowly to avoid trapping loose hairs or creating uneven patterns. Smooth each section with your fingers as you proceed through the braid.
Maintaining rhythm and consistency is crucial for achieving sleek, uniform braids that hold their shape. Ensure each crossover is intentional and steady to prevent bumps or twists from forming. Keeping your hands close to the braid helps maintain control, allowing the braid to look smooth and professionally done all the way to the ends.
Step 5: Secure the Ends
Once you reach the end of the braid, secure it with a small elastic band to prevent unraveling. Wrap the band neatly to keep the finish tidy. You may also apply a small amount of styling gel to smooth the final strands, ensuring your braid remains sleek and polished throughout the day.
Securing the ends properly is important for extending the life of your braids. A tight, clean finish ensures the style looks intentional and stays intact during everyday movement. If desired, you can dip synthetic ends in warm water afterward to seal them, helping the braid maintain structure and preventing frizz or loosening.
Step 6: Style and Finish
After completing all braids, gently trim any flyaways and apply mousse or setting foam to smooth the final look. This helps unify the braids and control frizz. You may also accessorize with beads or cuffs for added style, adjusting each braid to ensure it lies flat and appears symmetrical.
Finishing the style ensures your braids look cohesive and long-lasting. Letting the mousse dry completely helps the extensions set in place, creating a polished overall appearance. Inspect each braid for uniformity and comfort, making any small adjustments needed. This final step brings the entire look together with a clean, professional finish.
Do’s and Don’ts of Braiding Hair Extensions
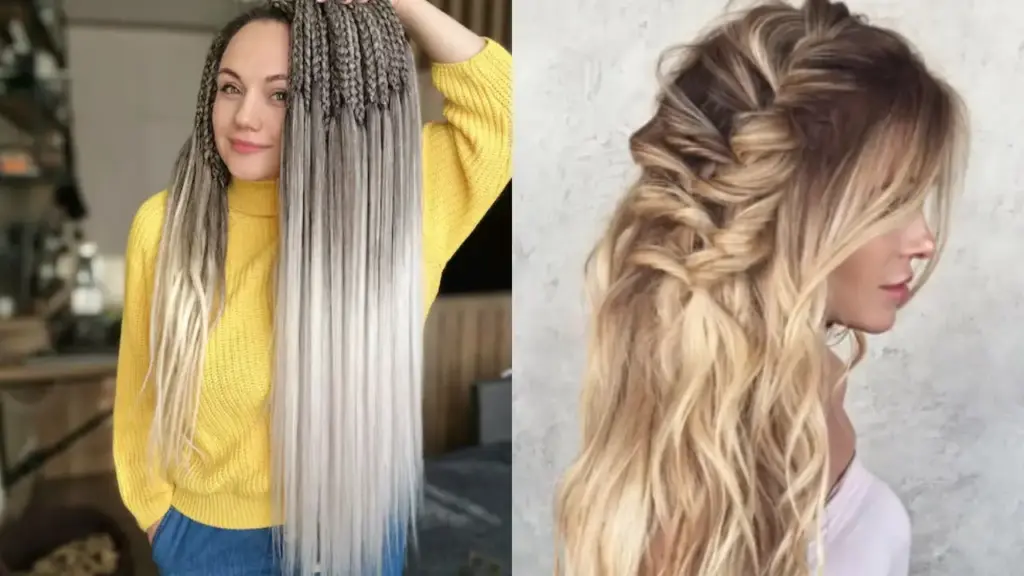
Understanding the do’s and don’ts of braiding hair extensions is essential for achieving clean, long-lasting, and damage-free styles. By following the correct methods and avoiding common mistakes, you protect both the extensions and your natural hair. These guidelines help maintain neat braids, prevent tension issues, and ensure a smooth, comfortable styling experience every time.
Dos
- Do detangle thoroughly – Detangling before braiding ensures smoother blending between your natural hair and extensions, reducing snagging and uneven sections. It helps create cleaner braids with consistent tension and prevents unnecessary breakage while keeping the finished style sleek and well-structured.
- Do section evenly – Creating neat, even sections sets the foundation for uniform braids that look professional. Proper parting helps distribute hair evenly, prevents bulky roots, and ensures each braid stays balanced, secure, and comfortable for long-term wear without creating irregular shapes or tension spots.
- Do maintain even tension – Keeping tension consistent while braiding prevents discomfort and uneven patterns. Balanced tension ensures the braids sit flat, look polished, and do not slip. It also protects your natural hair from stress, reducing the risk of breakage or thinning near the scalp.
Don’ts
- Don’t braid too tightly – Over-tight braids can cause scalp irritation, bumps, or even traction alopecia. Braiding too tightly places unnecessary strain on your natural hair and extensions, leading to discomfort and long-term damage. Gentle, controlled tension ensures a secure but pain-free result.
- Don’t skip moisturizing – Failing to moisturize your natural hair before braiding can lead to dryness, friction, and breakage. Adding a lightweight leave-in conditioner or oil helps maintain softness, improves manageability, and allows the extensions to blend better while preventing dryness throughout the wearing period.
- Don’t leave braids in too long – Keeping braids in longer than recommended can cause matting, buildup, and stress on your roots. Removing and reinstalling extensions on schedule keeps your scalp healthy, prevents tangles, and ensures both the extensions and natural hair stay in good condition.
How to Braid Your Hair for Clip in Extensions?
Braiding your natural hair before applying clip-in extensions helps create a smooth, flat base that supports secure placement. This method prevents bumps, improves blending, and ensures the extensions lie naturally against your head. By following simple steps, you can create a comfortable foundation that makes your clip-ins look fuller, seamless, and professionally installed.
Tools Needed
- Rat-tail comb
- Detangling brush
- Hair clips
- Light styling gel or mousse
- Small elastic bands
Step 1: Detangle and Prep the Hair
Start by detangling your natural hair thoroughly to create a smooth surface for braiding. Use a brush to remove knots and apply a small amount of gel or mousse to control flyaways. Prepping the hair ensures better grip, clean sections, and a stable base that helps your clip-ins sit flat without slipping.
Step 2: Create Horizontal Sections
Create a horizontal section from ear to ear, clipping the upper hair away. Keeping the parts neat ensures your braids stay even and don’t interfere with the clip-in wefts. A clean, level section helps distribute the weight of the extensions evenly and makes blending easier for a natural and comfortable fit.
Step 3: Form a Small Anchor Braid
Form a small, tight braid along the sectioned part to act as an anchor for your clip-ins. Keep the braid close to the scalp so it remains discreet under the extensions. This braid helps secure the clips, prevents slipping, and provides a flatter base for a more seamless look when the extensions are applied.
Step 4: Repeat for Remaining Sections
Continue making horizontal sections and anchor braids until you reach the crown of your head. Each braid creates a structured path for the clip-ins, ensuring consistent placement. This method keeps your extensions evenly supported and helps them blend smoothly with the rest of your hair, giving you a balanced and polished style.
How to Braid in Colorful Hair Extensions?
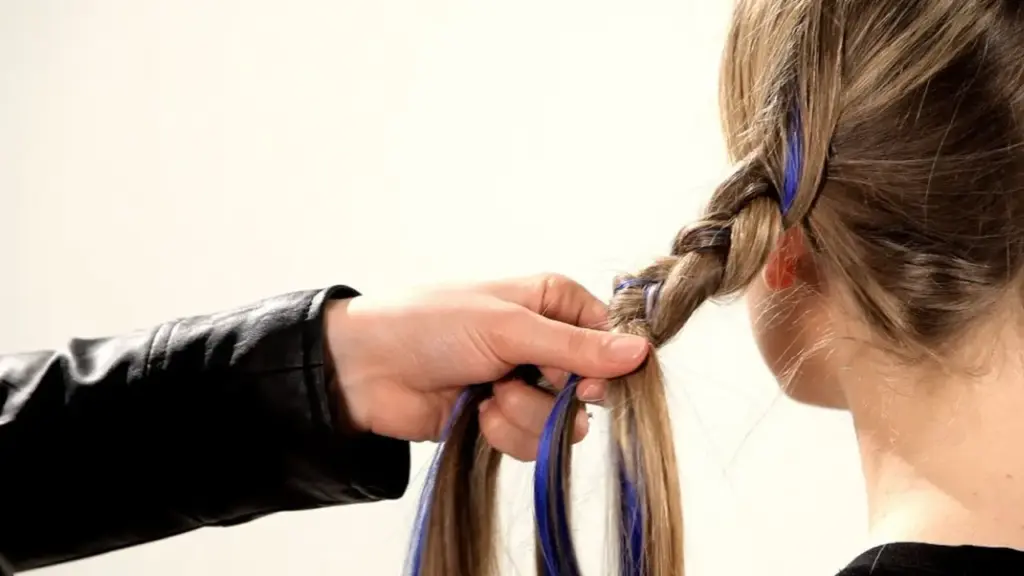
Braiding in colorful hair extensions lets you add vibrant streaks, bold highlights, or playful accents without coloring your natural hair. This method enhances volume and creativity while keeping your hair protected. By following a few simple steps, you can seamlessly blend colorful extensions into your braids for a fun, eye-catching, and long-lasting style.
Tools Needed
- Rat-tail comb
- Hair clips
- Detangling brush
- Styling gel or mousse
- Elastic bands
Step 1: Prep and Detangle
Begin by brushing your natural hair thoroughly to remove knots and create a smooth starting point. Apply a small amount of gel or mousse to reduce frizz and improve control. Proper preparation ensures the colorful extensions blend easily and prevents bumps, making the braiding process smoother and the final result more polished and secure.
Step 2: Section the Hair
Use a rat-tail comb to create clean, even sections where you want the colorful extensions placed. Clip away the surrounding hair to keep each section manageable. The neater your parts, the more precise and vibrant your final look will be, helping each color pop evenly throughout the braid without appearing bulky or uneven.
Step 3: Add the Colorful Extensions
Place the colorful extension at the base of the sectioned hair and divide both your natural hair and extension into three even strands. Position the color where you want it to show most clearly. This ensures balanced placement and helps the extension integrate smoothly into the braid while keeping the color bright and fully visible.
Step 4: Begin Braiding
Start braiding by crossing the strands evenly while maintaining steady tension. Keep your hands close to the braid to stay in control and ensure the colorful section remains centered and prominent. Consistent, smooth braiding helps the shade stay vibrant and prevents the extension from slipping or twisting as you move down the hair.
Step 5: Secure and Finish
Secure the braid with a small elastic band once you reach the end, keeping the finish neat and tight. Smooth any flyaways with gel for a polished look. Confirm the colorful strands sit clearly within the braid. This final step enhances vibrancy, prevents unraveling, and gives your style a bright, clean, and long-lasting appearance.
Conclusion
Braiding hair extensions becomes easier and more effective when you follow the essential dos and don’ts outlined in this guide. By practicing proper sectioning, using the right tools, and maintaining controlled tension, you can achieve cleaner, longer-lasting braid styles while keeping your natural hair healthy and protected.
Remember that avoiding common mistakes—such as pulling too tightly, skipping moisturizing, or using poor-quality extensions—helps prevent breakage and discomfort. With thoughtful preparation and careful handling, your braids will look polished, feel comfortable, and last much longer, no matter your preferred style.
As you experiment with different braid techniques, investing in premium extensions makes a big difference in results. For stylists and salons seeking consistency and quality, you can get wholesale hair extensions from our Alphahair for reliable, long-lasting performance that elevates every braided hairstyle.



