You clip them in. You check the mirror. And instead of a seamless blend, you see thick, unnatural wefts sitting on top of the hair.
That’s the problem with most clip-in extensions. If they aren’t made right, they look obvious. And in this business, that’s the last thing you want.
I’ve spent years working with hair extension brands, salons, and suppliers. I’ve tested products, talked to customers, and learned what makes clip-in extensions sell. The difference between a cheap, bulky set and a high-quality, seamless one? The right materials, the right techniques, and attention to detail.
In this guide, I’ll walk you through the full process of making seamless clip-in extensions. You’ll learn how to choose the best hair, create a flat, flexible weft, and attach clips in a way that makes the extensions feel weightless.
Let’s get started!
1. Choose the Right Hair for Seamless Clip-Ins
The hair you choose will determine how seamless your clip-in extensions look and feel.
If you get it wrong, the extensions can look bulky, tangle easily, or wear out too fast. But with the right hair, you can create smooth, natural-looking clip-ins that last.
Human vs. Synthetic Hair
Your first decision is whether to use human hair or synthetic hair.
- Human hair looks the most natural. It moves like real hair and can be styled with heat tools. If you want seamless clip-ins that blend well, human hair is the best choice.
- Synthetic hair costs less but comes with limits. It often has a plastic-like shine, can’t be heat-styled, and wears out faster. It might work for temporary or budget-friendly options, but it’s not ideal for high-end seamless clip-ins.
If you want extensions that feel real and last, go with human hair.
Best Hair Types for Seamless Extensions
Not all human hair is the same. Here are the best types for clip-ins:
- Remy Hair – The cuticles stay aligned, reducing tangling and making the hair smoother.
- Virgin Hair – This hair has never been processed, so it lasts the longest.
- Double-Drawn Hair – Thick from root to tip, giving a full, luxurious look.
2. Select the Right Weft Type for a Flat, Natural Look
The type of weft you use will affect how seamless your clip-in extensions look.
A bulky weft can make the extensions sit too high on the head, making them obvious. A thinner, flexible weft blends better and feels more comfortable to wear.
So how do you choose the best weft for seamless clip-ins? Let’s break it down.
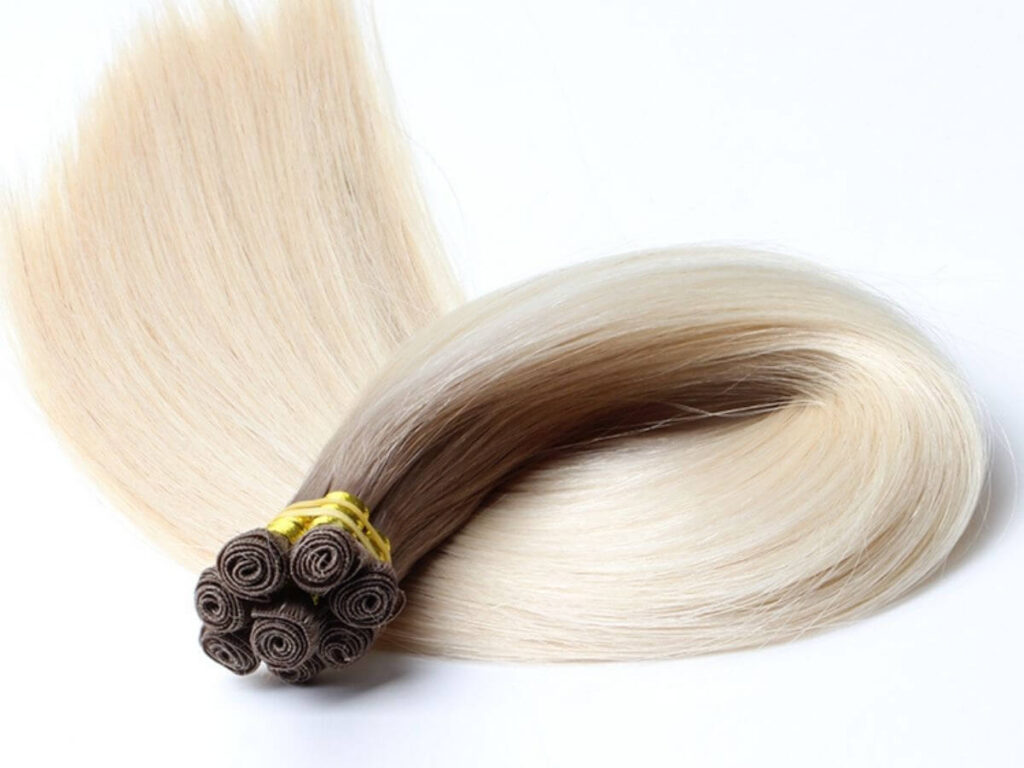
Hand-Tied vs. Machine Wefts
Wefts are the base of your extensions. They hold the hair together and determine how flat or bulky the clip-ins will be. There are 2 main types:
- Hand-Tied Wefts – These are made by tying small sections of hair onto a thin thread. They are:
- Lightweight and flexible
- Less bulky, making them great for seamless clip-ins
- More delicate and can’t be cut without unraveling
- Machine Wefts – These are stitched together with a sewing machine. They are:
- Stronger and more durable
- Thicker and may need to be thinned out for a seamless look
- More affordable than hand-tied wefts
If your goal is a flat, undetectable clip-in extension, hand-tied wefts are a great option. But if you prefer a stronger weft, machine wefts can work as long as you thin them out.
PU (Polyurethane) Wefts
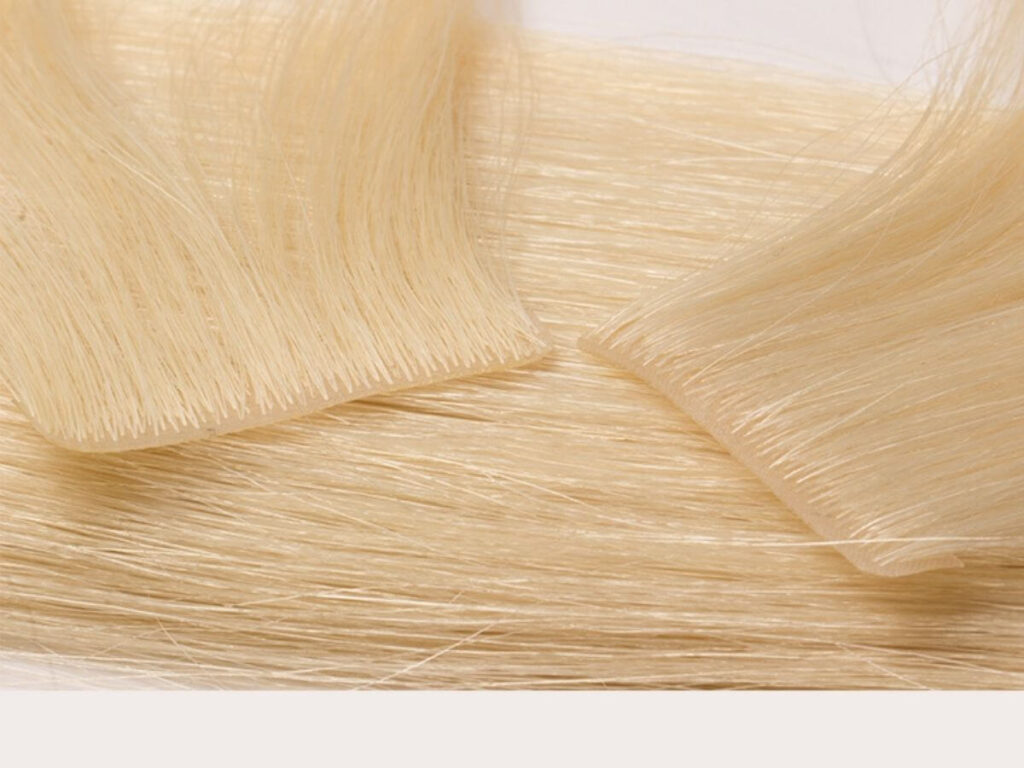
If you want the flattest, most flexible weft, PU wefts (also called thin skin wefts) are the best choice. These wefts are made with a polyurethane (PU) base instead of thread or stitching.
Why are they better for seamless clip-ins?
- They lay flat – PU wefts don’t have the bulk of traditional sewn wefts. This makes the clip-ins blend naturally into the hair.
- They prevent shedding – Traditional wefts can shed over time, but PU wefts hold the hair securely in place.
- They are flexible – The soft PU material moves with the hair, making the extensions feel more natural.
The only downside?
PU wefts can feel a little heavier than hand-tied wefts. But for clip-ins, this usually isn’t a problem since they aren’t worn 24/7.
Which Weft Type Should You Choose?
- If you want the thinnest and most seamless clip-ins, go with PU wefts.
- If you prefer a lightweight option, hand-tied wefts are a great alternative.
- If you’re using machine wefts, you may need to thin them out for a flatter result.
Your choice will depend on your budget, customer preferences, and the look you want to achieve.
But one thing is certain.
Choosing the right weft will make all the difference in creating clip-ins that look and feel natural.
3. Pick High-Quality Clips for Secure Hold
Clips are just as important as the hair itself.
A bad clip can make even the best extensions uncomfortable or unreliable. If they slip, dig into the scalp, or break too easily, customers won’t come back for more.
So how do you choose the right clips?
Best Clip Types for Seamless Extensions
Not all clips are made the same. Some hold well, while others lose grip over time. Here are the best options:
- Metal Clips with Silicone Grip – These have a small rubber strip inside that helps them stay in place without pulling on natural hair. They also prevent slipping, which keeps the extensions secure throughout the day.
- Snap Clips – These are easy to open and close, making them a good option for customers who want quick, hassle-free application. However, they may not grip as tightly as silicone-lined clips.
If you’re making seamless clip-ins for professional or long-term use, metal clips with silicone grip are the best choice.
Clip Placement for Comfort and Blending
Even the best clip won’t work if it’s placed wrong. Poor placement can make the extensions feel uncomfortable or look unnatural.
- Space clips evenly – This distributes weight across the weft, preventing tension on natural hair.
- Avoid placing clips too close to the scalp – If they sit too high, they can feel tight and even cause headaches over time.
A well-placed, high-quality clip makes all the difference. It keeps the extensions secure, comfortable, and easy to wear.
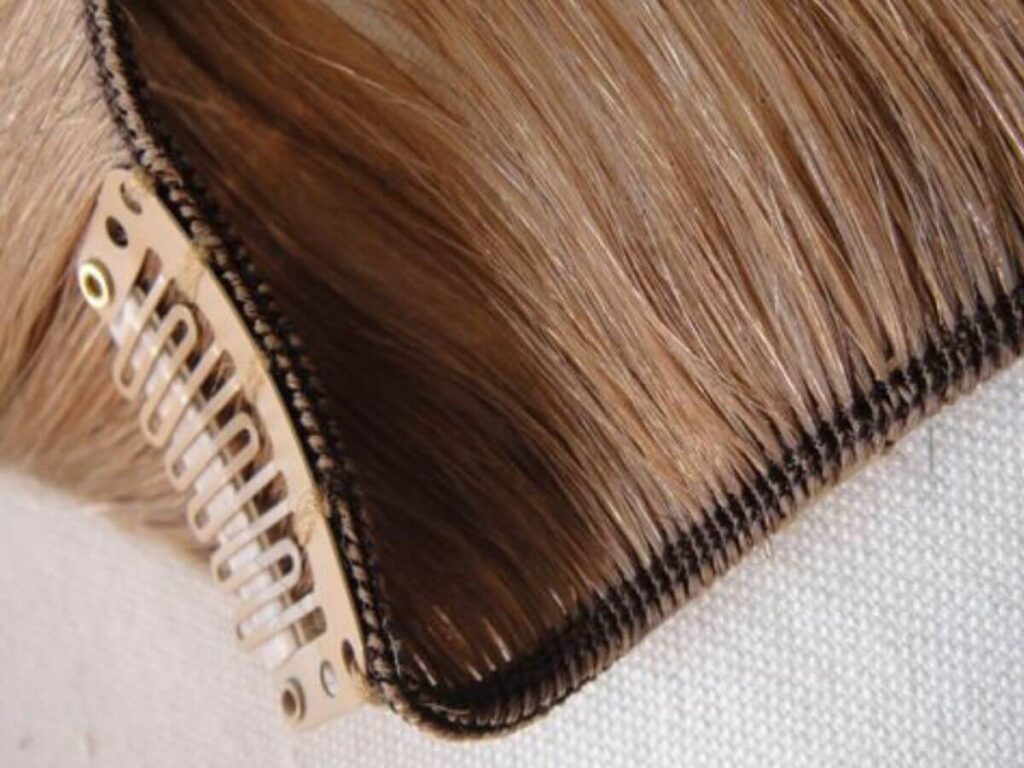
4. How to Create a Seamless Weft (Step-by-Step Guide)
Making seamless clip-in hair extensions is all about precision. The goal is a thin, flexible weft that blends into natural hair without looking bulky.
If done right, the extensions will feel lightweight, stay secure, and last longer.
This step-by-step guide will take you through the full process, from preparing the weft to attaching the clips and customizing the final look.
Step 1: Prepare the Weft
Before anything else, you need to prepare the hair weft properly. This is the foundation of your clip-ins, so getting it right will make the rest of the process smoother.
- Cut the weft into sections – Decide how wide each piece should be. Common sizes include:
- 2-inch sections – Ideal for side pieces or adding volume in specific areas.
- 4-inch sections – Good for the middle of the head.
- 6-inch sections – Best for full coverage and the widest parts of the head.
- Check the thickness – If the weft is too thick, it won’t lay flat. Use thinning shears or carefully remove some bulk from the top to keep it lightweight.
A thinner weft creates a more natural look and helps the clips sit closer to the scalp.
Step 2: Apply a PU or Tape Strip
Once the weft is cut, the next step is sealing the top to keep it flat and prevent shedding. Traditional sewn wefts can fray or unravel over time, so adding a polyurethane (PU) strip or thin adhesive tape will help hold everything in place.
- Measure and cut – Cut a PU strip or adhesive tape the same length as the weft.
- Press firmly – Attach the strip along the top edge, pressing down to secure it.
- Let it set – Allow at least 10–15 minutes for the adhesive to bond properly.
This step reinforces the weft, making it durable while keeping it flexible.
Step 3: Attach the Clips
Now, it’s time to add the clips. Clip placement is crucial—too few clips, and the extensions won’t stay secure. Too many, and they could feel heavy or uncomfortable.
- Choose the right clips – Use metal clips with a silicone grip for extra hold.
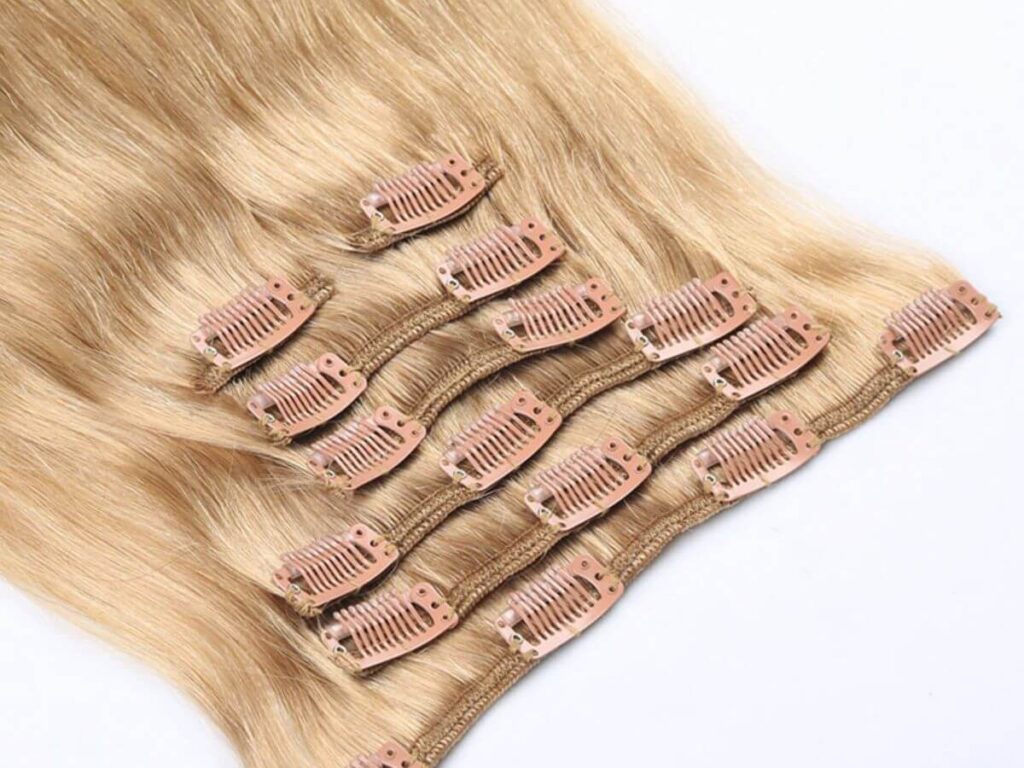
- Position the clips evenly – Space them out along the weft. A typical setup:
- 2-inch weft – 1 clip
- 4-inch weft – 2 clips
- 6-inch weft – 3 clips
- Sew or glue the clips in place – Stitching is more secure, but a strong adhesive can also work.
- Test the clips – Make sure they open and close easily without pulling too hard.
Once the clips are attached, the basic weft is complete. But for a truly seamless look, you’ll need to customize it further.
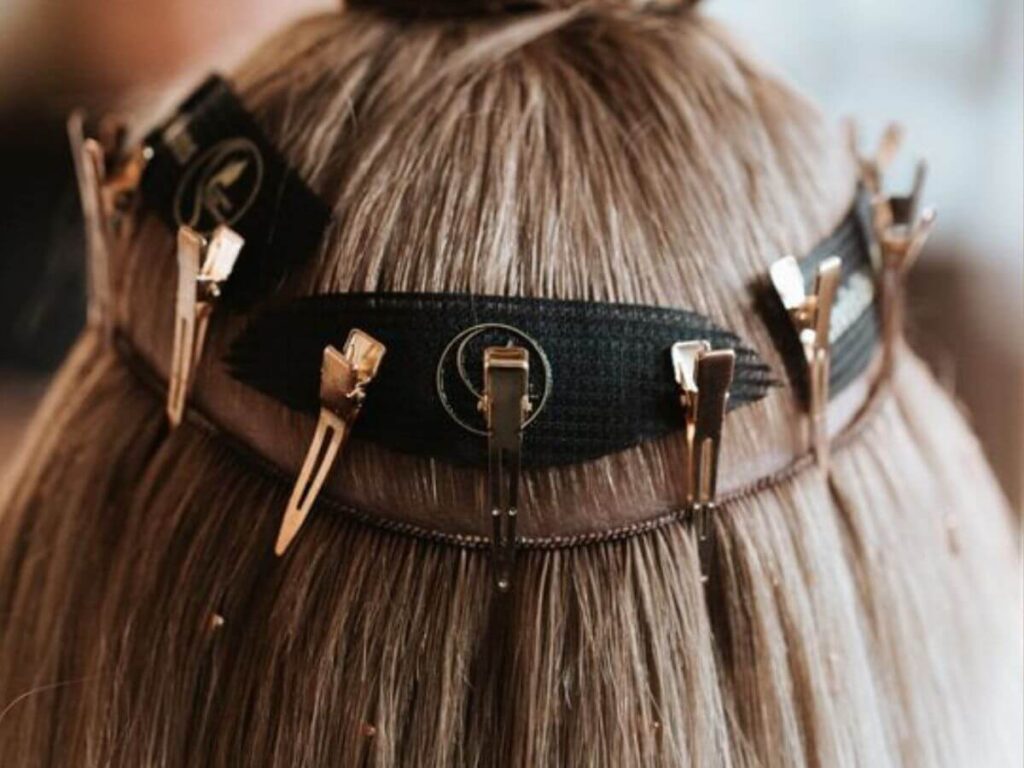
5. Customize Clip-In Extensions for a Better Blend
A seamless clip-in isn’t just about the construction but how well it blends with natural hair. Customizing the wefts will make the extensions look softer and more natural.
Thin out the wefts if needed
- If the ends look too blunt, use thinning shears to soften them.
- Lightly trim random strands for a feathered effect that mimics real hair.
Layer the extensions for a natural look
- Shorter wefts should go higher on the head, while longer wefts should go lower.
- Layering prevents a stacked look and helps the hair flow naturally.
Dye or tone for a perfect match
- If the color is slightly off, use semi-permanent dye or toner to adjust it.
- Test the color on a small section first to avoid mistakes.
A little customization goes a long way in making clip-ins look professionally done.
Conclusion
The right hair, the right weft, and the right clips. These are the foundation of seamless clip-in extensions. Get them right, and your extensions will look natural, feel comfortable, and last longer.
The difference between an average product and a best-seller is in the details. Will you take the time to make yours stand out?
Start now. Test different materials. Perfect your technique. The best clip-ins don’t happen by accident, they happen by design.
What’s your first step? Contact us today!
Explore Related Resources
If you’re searching for more choices, explore our full collection of products. We’ve picked out some great options for you:
Still haven’t found what you’re looking for? Don’t hesitate to contact us. We’re available around the clock to assist you.


