I’ve seen it happen—loose stitching, visible thread, or extensions that just don’t lay right. When I first started working with hair extensions, I struggled too. But over time, I learned that technique makes all the difference.
Whether you run a salon, sell extensions, or train stylists, mastering the sew-in method is key to secure, seamless, and long-lasting installs. With the right tools and approach, you can create flawless results that keep clients coming back.
This guide breaks it all down—from prep to precision stitching—so you can deliver professional-quality extensions every time.
So let’s get started!
Step #1: Prepare Natural Hair
Before the needle and thread come out, the natural hair needs a clean, solid start. Skipping this part or rushing through it? That’s where problems begin.
Over the years, I’ve seen it all—braiding over greasy hair, damp roots, or random partings. The result? Extensions that don’t last, or worse, styles that have to be taken out early. A good sew-in always starts with proper prep.
Wash and Dry the Hair
First, wash the natural hair thoroughly. Use a gentle, sulfate-free shampoo to clean the scalp and strands. You want to remove oil, dirt, and buildup from styling products.
After rinsing:
- Apply a light conditioner
- Rinse it out completely
- Towel-dry the hair without rubbing or tangling it
Then, blow-dry the hair until it’s fully dry. Use medium heat and gently stretch the hair as you go. If the hair is damp under the braid foundation, it can trap moisture. That’s a setup for mildew, odor, or scalp irritation—especially for clients wearing the sew-in long-term.
I once had a client come back after just 5 days. The smell hit me before she sat down. Her stylist had braided over damp hair, and it didn’t take long for things to go wrong.
Now I always double-check—no moisture, no shortcuts.
Section the Hair for Leave-Out
Next, part out the leave-out. This is the section of natural hair that stays out to cover the tracks and blend with the extensions.
Use a tail comb to make clean parts. Here’s how:
- Part a U-shape or straight section at the top
- Leave out hair along the hairline if needed
- Clip those sections away with sectioning clips
I always ask myself: Will this fully cover the wefts? If not, I adjust the section until it looks right.
When the hair is clean, dry, and neatly parted, you’re ready to move on. Prep done right makes the rest of the process smoother—and your results more professional.
Step #2: Create the Braid Foundation
Once the hair is clean, dry, and parted, it’s time to build the base.
This step matters more than most people think. If the braids aren’t tight and flat, the sew-in won’t sit right. I’ve had installs that looked great on day one, but a week later? Loose tracks and unhappy clients. A strong braid foundation makes all the difference.
Choose a Braiding Pattern
Start by picking a braiding pattern that fits the style.
Here are two reliable options:
- Horizontal cornrows: These go from side to side across the head. Great for partial sew-ins. They’re quick, easy to sew on, and lie flat under leave-out.
- Beehive pattern: This braid spirals around the head, starting at the outside and working inward. It’s the go-to for full-head installs or wigs where no natural hair is left out.
I’ve tried both patterns dozens of times. Horizontal rows are my go-to for blending leave-out. Beehives keep things tucked in and secure all around.
Use a tail comb to part neat, even rows. Take your time. Clean partings make a huge difference when it’s time to sew.
Keep Braids Tight and Close to the Scalp
Once you’ve parted everything, start braiding.
Each braid should be firm and flat. Not too tight—you don’t want pain—but close enough to hold the wefts steady. Loose braids can shift, create lumps, or even pull on the scalp once the hair is sewn in.
As you finish each braid:
- Use a curved needle and weaving thread to stitch the ends down
- Anchor the ends to nearby braids or directly to the scalp base
- Avoid rubber bands—they can pull, break, or slip out over time
Before moving on, double-check your braid base.
Run your hand over the head. It should feel smooth, low, and secure. If it does, you’re ready for the next step: sewing in the wefts.
Step #3: Thread the Needle
Now that the braid base is done, it’s time to prep your tools.
Sewing hair extensions isn’t just about skill—it’s also about setup. A poorly threaded needle can slow you down or make the installation messy. Taking a minute to do it right makes the sewing part much easier.
Use a C-Curve Needle
Start with a C-curve needle. This needle is shaped like the letter “C,” which makes it easier to sew along the curve of the scalp.
Flat needles or straight ones just don’t work as well here. You need that bend to pass through the braid and loop the thread correctly.
Here’s what to do:
- Cut a piece of nylon weaving thread—about 30 to 36 inches long
- Fold it in half to create a double strand
- Thread both ends through the needle’s eye
- Pull the thread through until both sides are even
- Tie a knot at the bottom to hold the strands together
I’ve tried single-strand threading in the past to save thread, but it doesn’t hold as well. A double strand gives more strength and better grip when you sew the wefts in place.
Also, keep the thread length manageable. Too long, and it tangles. Too short, and you’ll be rethreading constantly.
Match Thread Color to Hair
Next, match your thread color to the hair.
This is a small step—but it makes a big difference in how clean the final install looks.
- Use black thread for dark hair
- Use brown thread for medium shades
- Use blonde thread for lighter colors if needed
If you’re not sure, hold the thread next to the wefts and check in good lighting.
I once used black thread on a honey blonde install. The client didn’t notice at first, but when she pulled the hair up—there it was. Tiny black stitches, right at the part line.
Step #4: Start Sewing the Weft
Once the braid base is done and your needle’s ready, it’s time to sew in the hair.
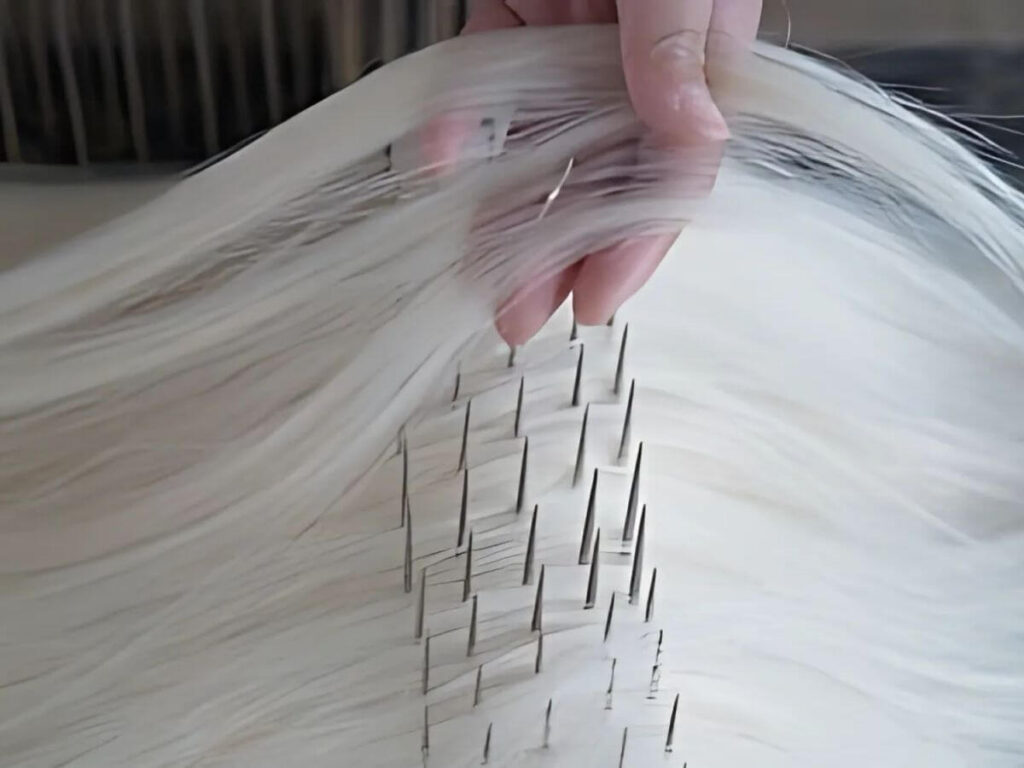
The weft—this is the top part of the extension where the hair is stitched together—sits directly on the cornrow. It gets sewn in row by row.
This step builds the shape of the final look. If the sewing is clean and tight, the style will last longer and look better.
Measure and Cut the Weft
Start by laying the weft over the first braid.
- Place it flat from one end of the braid to the other
- Make sure it lines up without bunching or stretching
- Then either cut it to match—or fold it instead
Folding the weft keeps the stitching intact, which helps reduce shedding. I used to cut every time—until I had a client say, “Hey, is it normal for this much hair to come out after just two days?” That one stuck with me.
Now I fold whenever I can. And if I do cut, I dab a little weft glue on the edge to keep it sealed.
Begin Stitching
Start sewing at one end of the braid.
I always tell myself here, “This first anchor stitch better be solid.” Because if it’s loose, the whole row shifts.
- Make 2 to 3 lock stitches to hold the weft in place
- A lock stitch loops the thread around itself to keep it from slipping
Here’s the basic move:
- Push the needle under the braid and over the weft
- Pull it through
- Loop the thread under the needle
- Pull tight to lock the stitch
Keep going across the braid.
Make each stitch:
- Tight
- Even
- Close together
Too far apart, and the weft will lift. Too tight, and it pulls the braid.
Take your time in this first row. Once it’s in, you’ll fall into a rhythm—and every row after that will go smoother.
Step #5: Secure the End of the Weft
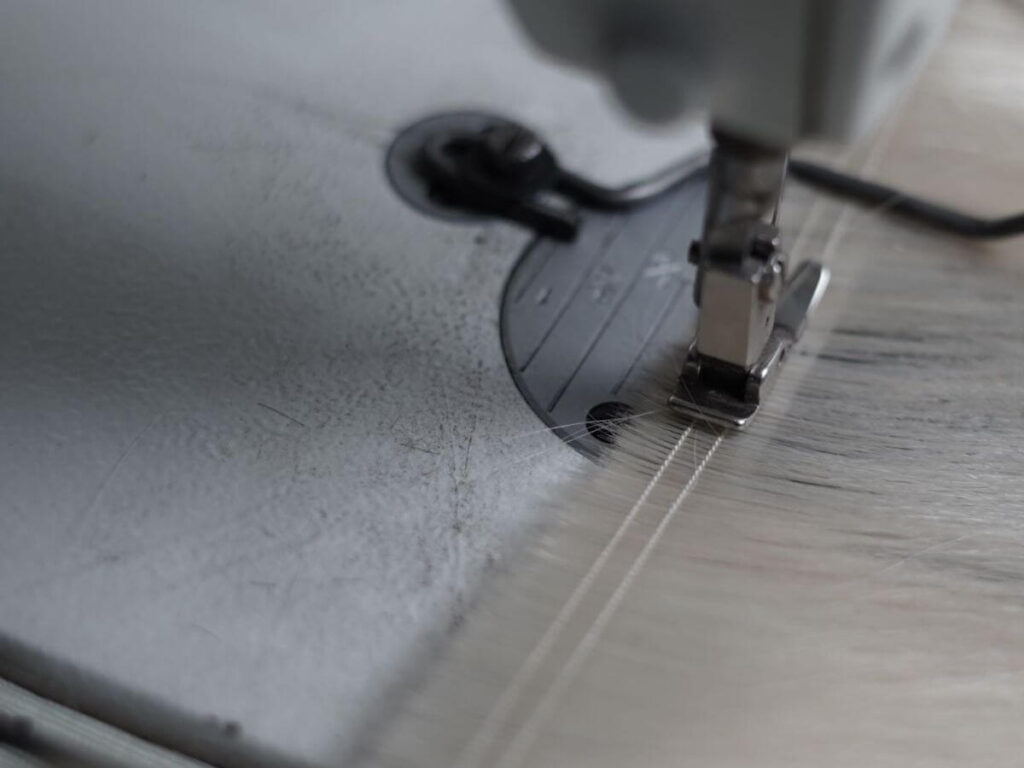
Once you’ve sewn across the braid, the final step is just as important—securing the end.
If you stop sewing and walk away without locking it in, the thread can loosen. And if it loosens, the weft can come right off. That’s why this step matters.
Double Stitch the Final Section
When you reach the end of the row:
- Keep the weft flat and held in place
- Stitch through the braid and over the weft again
- Do this 2–3 times in the same spot
This is called a double stitch. It keeps the thread from slipping out or unraveling later.
I used to stop with one stitch at the end—just to save time. Big mistake. The weft would start lifting after a few days. After that, I always added extra stitches.
Tie a Knot
Here’s how to do it:
- Pass the needle under the braid one more time
- Before pulling the thread all the way through, leave a small loop
- Pull the needle through that loop
- Pull the thread tight to form a secure knot
Do this once or twice.
Then:
- Use scissors to cut the extra thread close to the knot
- Press the knot flat into the braid so it doesn’t stick out
The end is now secure.
Do a quick check—does the weft feel snug at both ends? If yes, you’re ready to move on to the next row or style the hair.
Securing the end properly may only take a minute, but it’s what holds everything together. Skipping this step can undo all your hard work.
Step #6: Add More Rows of Weft (Layering)
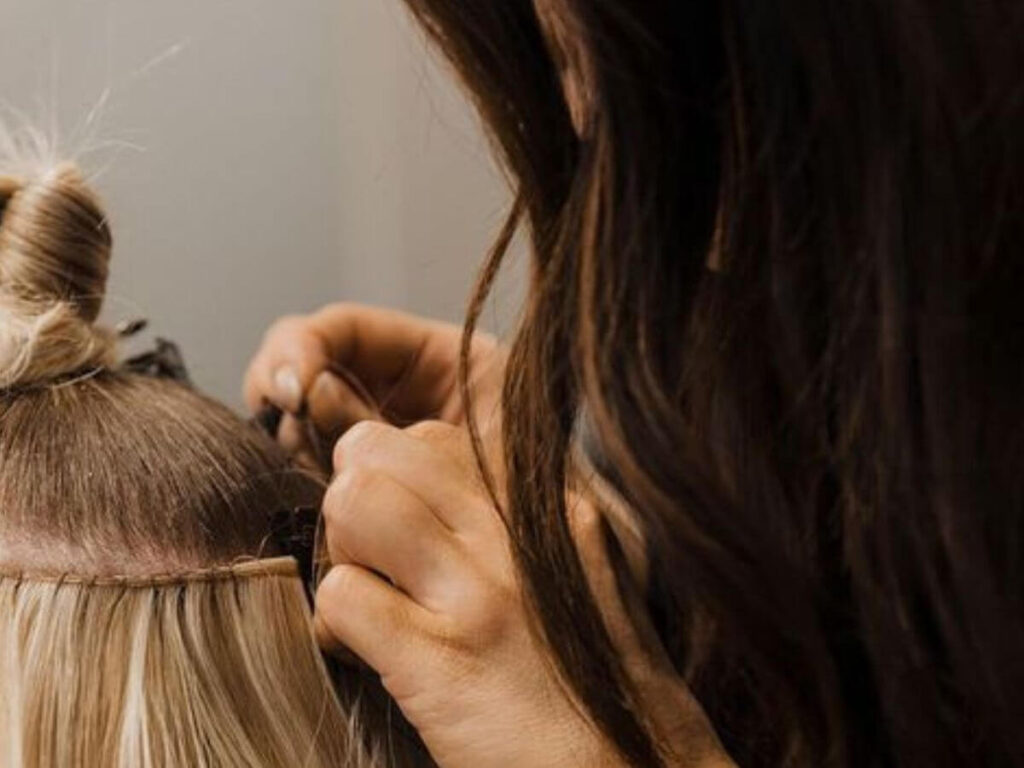
Once your first row is in, it’s time to build the rest. This part is all about layering. You’re creating shape, volume, and coverage.
When I first started layering rows, I used to space them too close. That made the installation bulky and hard to style. Then I went too far apart—and had gaps that showed the braids underneath. Finding that balance took trial and error.
Take your time here. Layering is where the style really takes form.
How to Layer Wefts
- Start from the bottom. Work row by row, moving up from the nape of the neck to the crown of the head.
- Follow a curved shape. Especially near the top. This mimics how natural hair falls and makes blending easier later on.
- Leave space for styling. Don’t crowd the rows. About half an inch of space between each one usually works well. This gives room for parting, blending, or adding curls.
- Check each row before moving on. Look for any loose spots or uneven stitches. Tug lightly on the weft to see if it holds. If it moves, redo that part.
Tips That Help
- Keep the rows close to the scalp—but not tight.
- Use shorter wefts near the crown for better shaping.
- Plan your parting area in advance. That way, you won’t sew too high or too low.
Layering takes focus. But the more you do it, the better you’ll get at seeing where each row should go.
By the end of this step, you’ll start seeing the full install take shape—and that’s always a good feeling.
Step #7: Finish and Style
The sewing is done, but the install isn’t complete just yet.
Before you style the hair or hand the mirror to your client, take a few minutes to double-check your work. This step is easy to skip, especially when you’re tired or running behind—but it’s worth it. A quick check now can prevent fixes later.
Inspect Stitch Security
Start by checking each weft you’ve sewn in.
Use your fingers to gently tug along the row. Go one row at a time. Press near the braid and feel for any spots that move or shift. Focus on the ends—they’re the most common places to loosen up.
If you find anything that doesn’t feel secure:
- Pick up your needle and thread
- Add 1–2 lock stitches right into the braid
- Pull the thread tight
- Tie a knot and trim the extra
The goal here is to reinforce the stitching so everything stays in place once the client starts moving, styling, or sleeping on it.
Run your hand across the scalp. It should feel smooth, flat, and solid.
Style as Desired
Now you can start styling.
At this point, the hair is ready to be worn. You or your client can:
- Curl it
- Flat iron it
- Blend the leave-out
- Pull it into a ponytail or bun
- Leave it down and natural-looking
Use heat tools carefully, especially around the leave-out. Match the texture and blend it into the wefts.
Comb through the entire head. Look at it from different angles—front, back, and sides. Check for any visible thread or bumps.
Ask yourself: Does it look clean and secure?
If everything feels right, you’re finished. This last check helps deliver a result that not only looks great—but lasts.
Conclusion
You’ve now seen the full process—from clean prep to the final stitch.
Every step has a purpose. When done in order, they create a strong, seamless install your clients will love.
If you’re ready to take the next step and put this into practice, we’re here to support you.
Contact us today to get started.
Explore More Helpful Resources
If you’re looking for more insights, we’ve put together a list of helpful articles that you might enjoy:
Still haven’t found what you’re looking for? Don’t hesitate to contact us. We’re available around the clock to assist you.


