I once had a customer ask why her new extensions wouldn’t take color. She had spent money on what she thought was high-quality hair, but after one dye job, the strands felt stiff and dry.
This is a common mistake. Not all hair extensions react well to dye, and choosing the wrong ones can lead to damage.
This guide is based on expert knowledge, industry testing, and real-world experience. No hype, just facts you can rely on.
By the end, you’ll understand which extensions can be dyed and how to get lasting results. Whether you own a salon or sell extensions, this information will help you avoid costly mistakes.
If you want professional, vibrant results, you need the right hair.
Let’s get started!
1. Types of Hair Extensions That Can Be Dyed
I’ve seen brand owners and salon professionals invest in the wrong type of hair—only to have it fall apart after one coloring session. That kind of loss? It’s not just about the product. It’s about the trust your customer has in you.
If you’re offering custom colors, or planning to, knowing what kind of hair can take dye is essential. Using the wrong one can cost you time, reputation, and return business. Let’s walk through the types of hair extensions that can actually be dyed:
Human Hair Extensions
These are the only extensions you should ever dye. But not all human hair is the same. Here’s what you need to know:
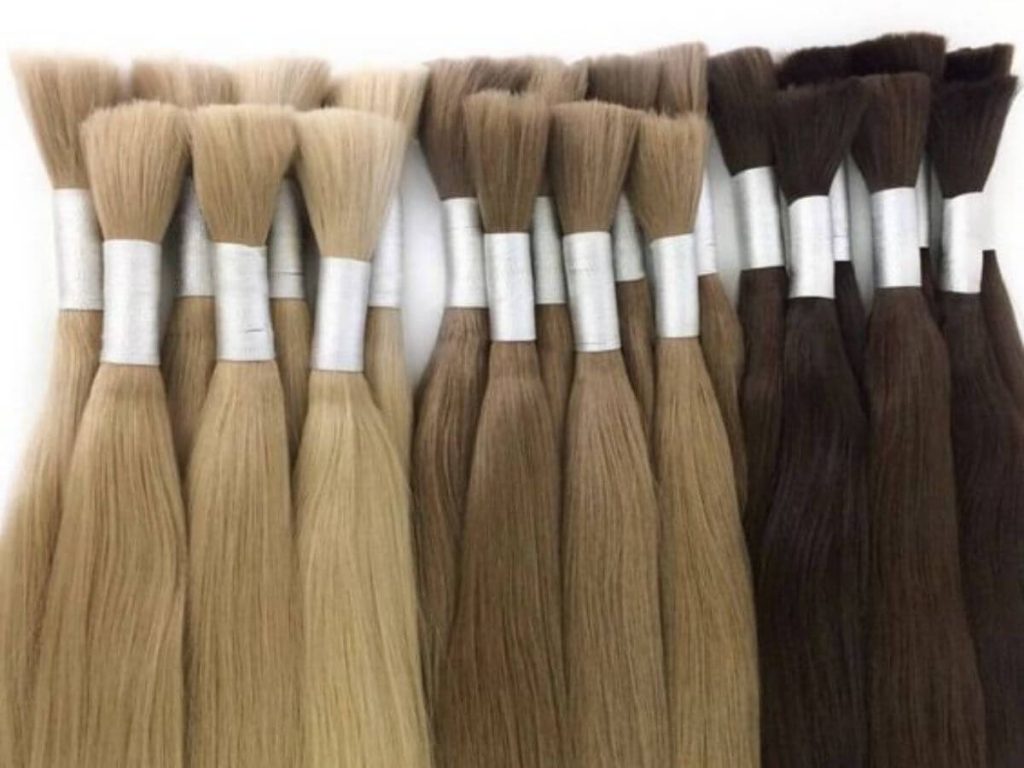
100% Remy Human Hair: Best For Dyeing
- Cuticles Are Intact and Aligned: This means the hair runs in one direction. It reacts better to dye and holds up after processing.
- Accepts Dye More Evenly: The color takes well and looks natural. No patches or unexpected tones.
- Lasts Longer After Dyeing: With proper care, this type stays soft and strong, even after color.
If you’re offering dyed or customized extensions to clients or in your product line, start here. This is the standard you want.
Non-Remy Human Hair: Dye With Caution
- Can Be Dyed, But Results May Vary: Because the cuticles face different directions, the outcome isn’t always predictable.
- May Have Mixed Cuticle Directions: This can cause tangling, matting, or uneven dye results.
- Prone To Tangling and Uneven Color: Clients may complain, and you may see faster wear after coloring.
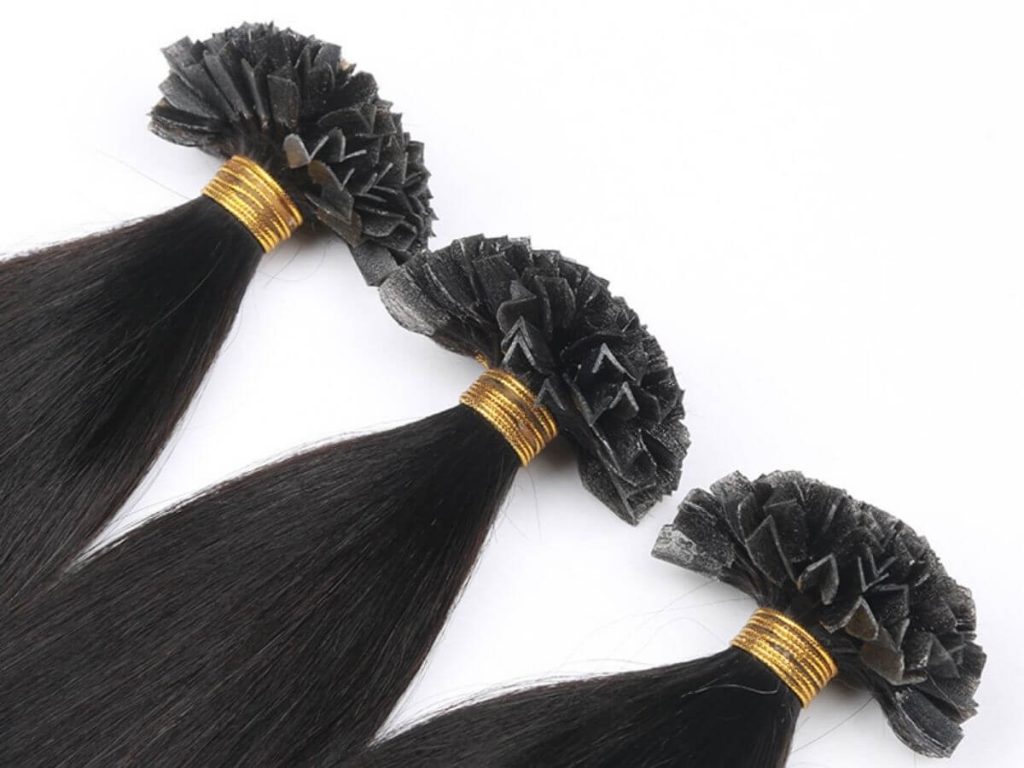
Virgin Hair
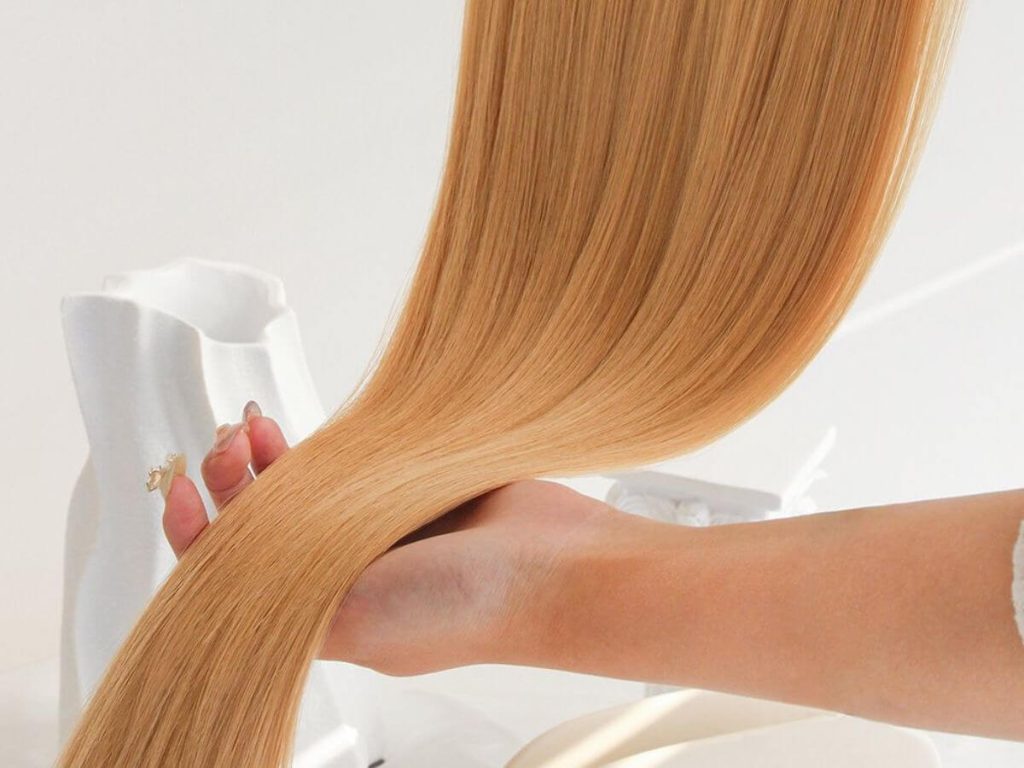
Hair that has never been dyed, bleached, permed, or processed in any way. This hair is untouched. It absorbs color beautifully. You’ll get vibrant results that last, and fewer chances of damage.
If you’re developing a color range or offering salon services, virgin hair gives you control and quality.
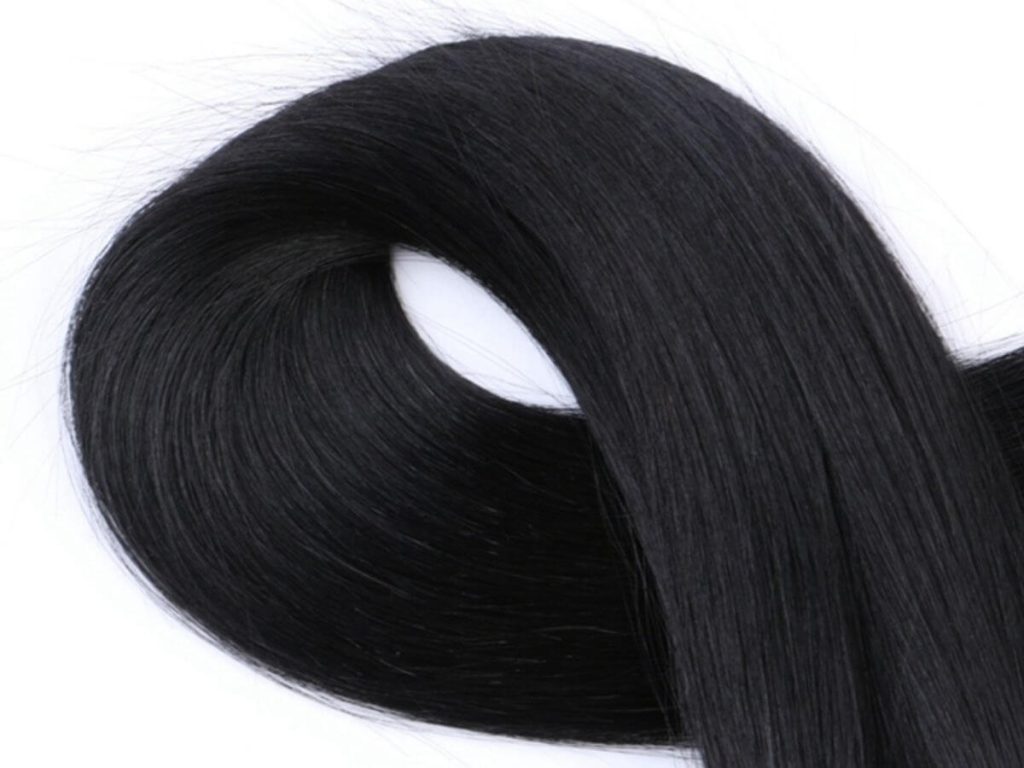
Processed Human Hair
- Already Chemically Treated: It may look fine at first, but it’s already been through a lot.
- May Not Respond Well To Dye: Often resistant or uneven when colored.
- Risk Of Breakage Or Poor Color Absorption: Especially if it’s been coated or over-processed.
If you don’t know the full history of the hair, dyeing it is a risk. One you might not want to take.
2. Types of Dyes Suitable for Hair Extensions
Choosing the wrong dye is just as risky as choosing the wrong hair. I’ve heard from small brand owners who tried to color extensions with permanent box dye—only to end up with damaged, unusable product.
If you’re customizing extensions for resale or salon use, you need to use the right type of dye. Let’s break down which dyes are safe, effective, and worth your time—and which ones to skip entirely:
Semi-Permanent Dye
- No Ammonia or Peroxide: This makes it less harsh on hair, ideal for processed or delicate extensions.
- Good For Adding Color or Refreshing Tones: Perfect for subtle color shifts, toning, or adding vibrancy.
- Works Well on Human Hair Extensions: Especially Remy or virgin hair. Color fades slowly and evenly.
If you’re starting out, semi-permanent dye gives you control without risking damage.
Permanent Dye
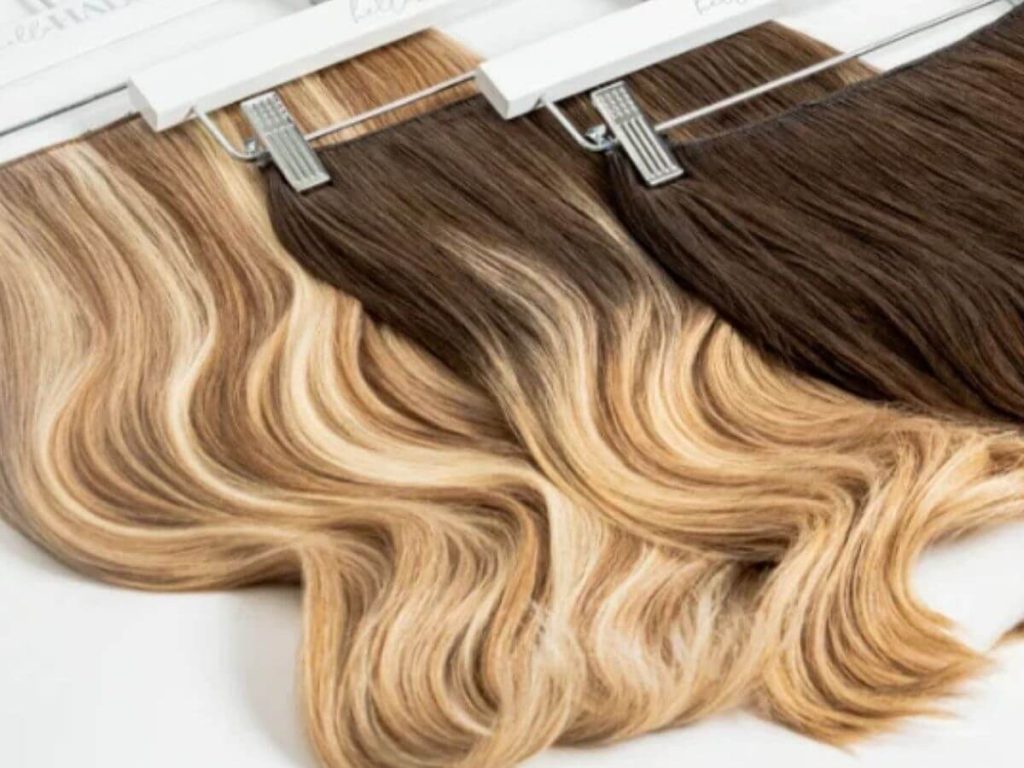
- Contains Ammonia and Developer: This opens the hair shaft to deposit color deep inside.
- Penetrates Hair Shaft for Long-Lasting Color: You get more vivid, lasting results.
- Only Use on 100% Human or Virgin Hair: Anything less may not survive the process.
Use this when you need true color changes, but only if the hair is high quality and healthy enough to handle it.
Temporary Hair Color Sprays or Chalks
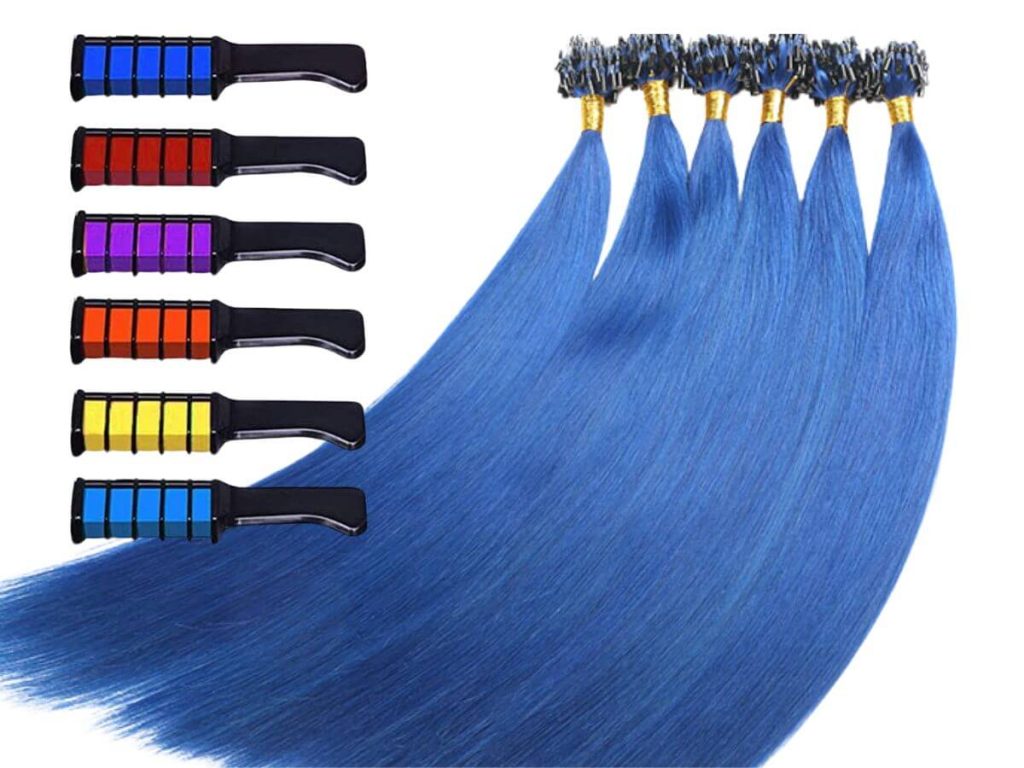
- Surface-Level Coloring: These sit on top of the hair, not inside the strand.
- Not Recommended for Business Use or Client Services: They wear off fast, stain easily, and don’t reflect salon-level quality.
Great for quick demos or temporary looks—but not something you want tied to your brand.
Hair Toners
- Adjusts Color or Neutralizes Unwanted Tones: Commonly used to remove brassiness or add ash/golden tones.
- Use After Bleaching or Lightening Hair Extensions: Toners help restore the look after lifting color.
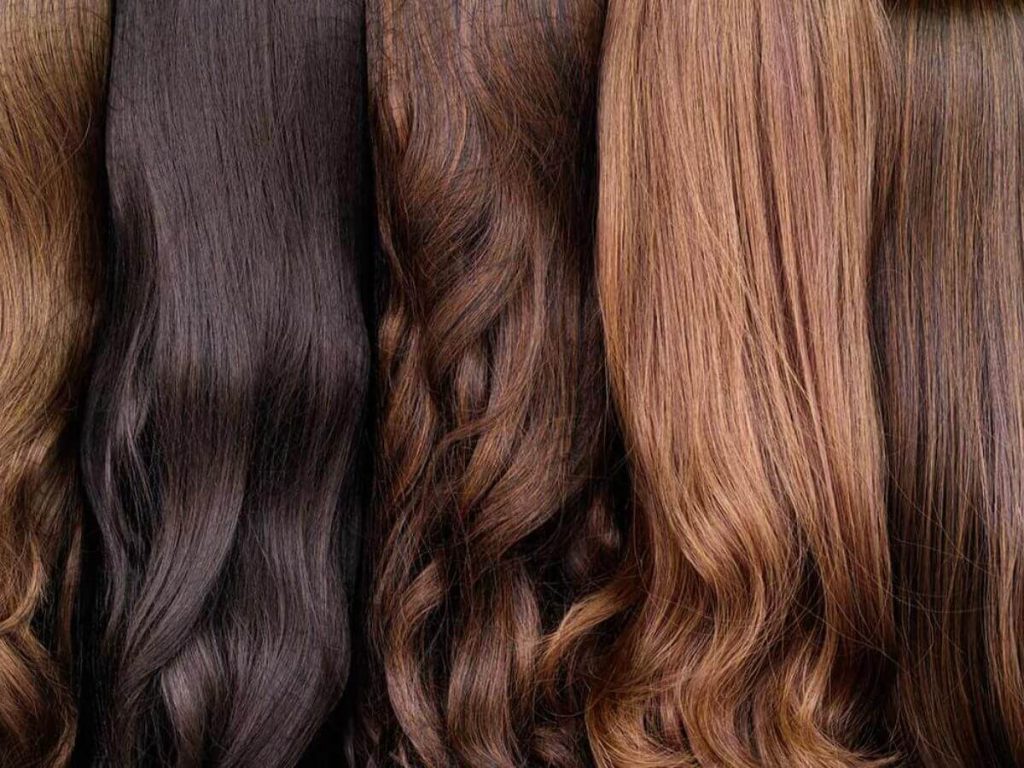
3. Step-by-Step Guide to Dyeing Extensions Safely
I’ve seen even skilled professionals run into problems when dyeing extensions. Most of the time, it’s not the dye—it’s the process.
Extensions are not like natural hair. They don’t have natural oils or a scalp to protect them. That’s why every step matters. If you’re offering colored extensions or want consistent results, follow this method.
Step#1 Prepare Your Workspace
Before you open the dye, get your tools ready:
- Gloves
- Mixing bowls
- Brushes
- Old towels or protective covers
Work in a well-ventilated space to avoid breathing in strong fumes. Having everything set up in advance makes the process smoother and reduces the chance of errors.
Step#2 Detangle and Wash Extensions
Extensions should be clean before dyeing. Use sulfate-free shampoo to gently remove any product or oil buildup. This helps the color absorb evenly.
Do not condition the hair yet. The conditioner can coat the strands and block the dye. Let the extensions air dry completely before moving to the next step. Wet hair won’t take color the same way.
Step#3 Perform a Strand Test
Don’t skip this. Always test the dye on a small section first. Pick a piece near the base or underneath the bundle, then apply the dye and process as directed. Finally, check how the hair reacts—look at both color and texture. This step can save you from wasting an entire batch of extensions.
Step#4 Apply the Dye Evenly
This step takes focus. Lay the hair flat and work in sections.
Start applying the dye from top to bottom. Use a tint brush to fully coat each strand. Be careful not to leave dry patches—uneven color won’t look professional. Flip the hair gently to apply dye to both sides. Take your time here; rushing will show in the final result.
Step#5 Let It Process
Check the box or instructions for the dye you’re using. Follow the timing exactly.
Do not guess or leave it in longer hoping for a deeper color. Over-processing can weaken the strands or change the texture, especially with Remy or virgin hair. Set a timer and keep an eye on the color as it develops.
Step#6 Rinse Gently
Rinse the extensions with cool water. This helps seal the cuticle and lock in the color. Avoid scrubbing or twisting the hair. Instead:
- Let water run in the same direction as the hair
- Gently squeeze out excess water with your hands
- Do not rub with a towel
Handle the extensions like they’re delicate—because they are.
Step#7 Air Dry
Lay the extensions flat on a clean, dry towel. Avoid hanging them while wet; this can stretch the hair or damage the weft. Let them dry naturally. Stay away from blow dryers or heating tools until the hair is fully dry and cooled down. If you’re prepping dyed extensions for sale or client installs, this step ensures they stay smooth, soft, and strong.
4. Common Mistakes to Avoid When Dyeing Extensions
I’ve heard from salon owners and brand suppliers who lost entire bundles, and sometimes entire batches because of one small mistake. The truth is, dyeing extensions isn’t just about color. It’s about control.
When you’re working with hair that’s been sourced, sewn, and treated before it reaches you, every decision matters. Let’s go over the most common mistakes that can ruin your results—and how to avoid them:
Using Dye on Synthetic Hair
This is one of the most damaging errors. Synthetic hair is made from plastic-based fibers. It cannot absorb hair dye—no matter how strong the formula is. Attempting to dye it can cause melting, frizzing, or breakage.
If you’re not sure if the hair is synthetic, always test a few strands first. Real human hair will absorb water and color. Synthetic will not.
Skipping the Strand Test
You might feel confident in your process—but never skip this step. A strand test helps you:
- Check for unexpected color changes
- Test how the hair reacts to the dye
- Avoid wasting time or full bundles
It takes just a few minutes and can save you from costly mistakes.
Over-Processing the Hair
Leaving dye on too long is one of the fastest ways to damage the hair. Extensions are more vulnerable than scalp hair. Once the cuticle is weakened, it can’t repair itself.
The result? Brittle, dry, and weak strands that don’t last. Always follow the dye brand’s timing. Set a timer and never guess.
Using Harsh Shampoos After Dyeing
Washing dyed extensions with a harsh or sulfate-based shampoo will strip the color fast. Stick to:
- Sulfate-free shampoos
- Color-safe formulas
- Cool water for rinsing
These help maintain tone, softness, and longevity.
5. Maintenance Tips for Dyed Hair Extensions
After the dye is applied and the color looks perfect, your work isn’t done yet. I’ve seen beautiful extensions fade fast—or get dry and tangled—just days after application. Most of the time, the problem wasn’t the dye. It was the aftercare.
If you’re selling dyed hair or offering custom color as a service, you need to guide your customers or team on how to care for it. Proper maintenance protects the hair—and protects your name on the product.
#1 Use Color-Safe Shampoo and Conditioner
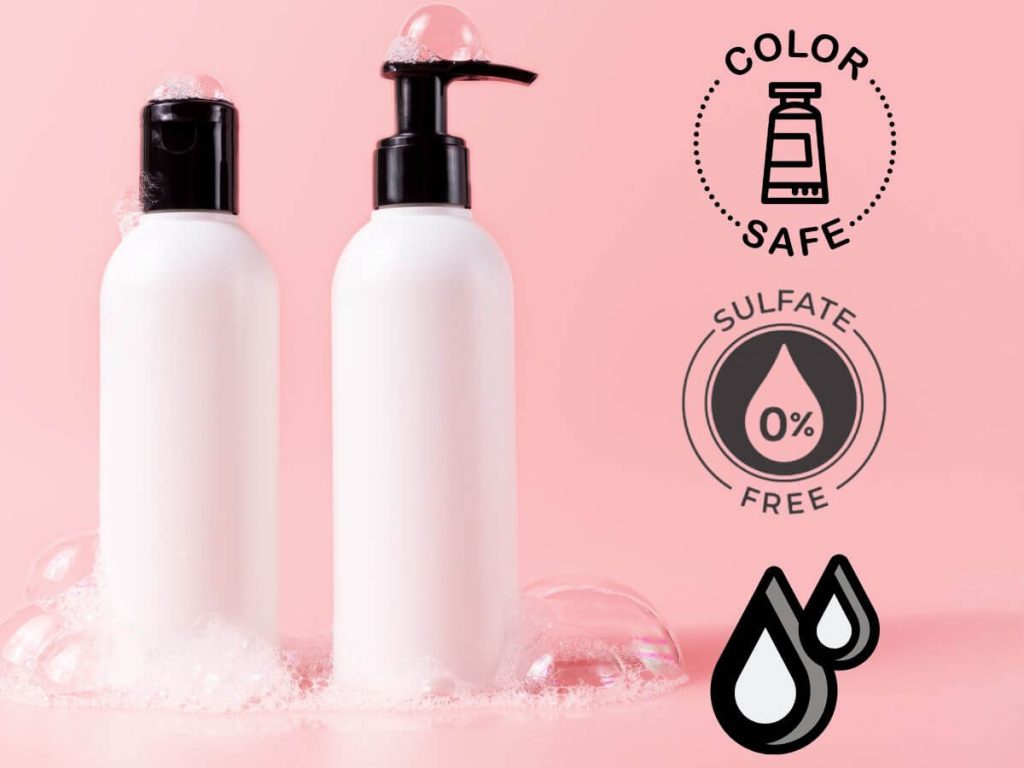
This is non-negotiable. Regular shampoos often contain sulfates that strip color fast. Choose sulfate-free, color-safe products. Use lukewarm or cool water for washing and stay away from deep-cleansing or clarifying shampoos. This simple switch helps keep the tone fresh and the strands soft.
#2 Limit The Wash
Overwashing fades color and dries out the hair. Unlike natural hair, extensions don’t have oils from the scalp to protect them.
- Wash only when needed—no more than 1–2 times a week
- Use dry shampoo in between if needed
- Always detangle before washing to avoid matting
#3 Use Heat Styling Tools Carefully
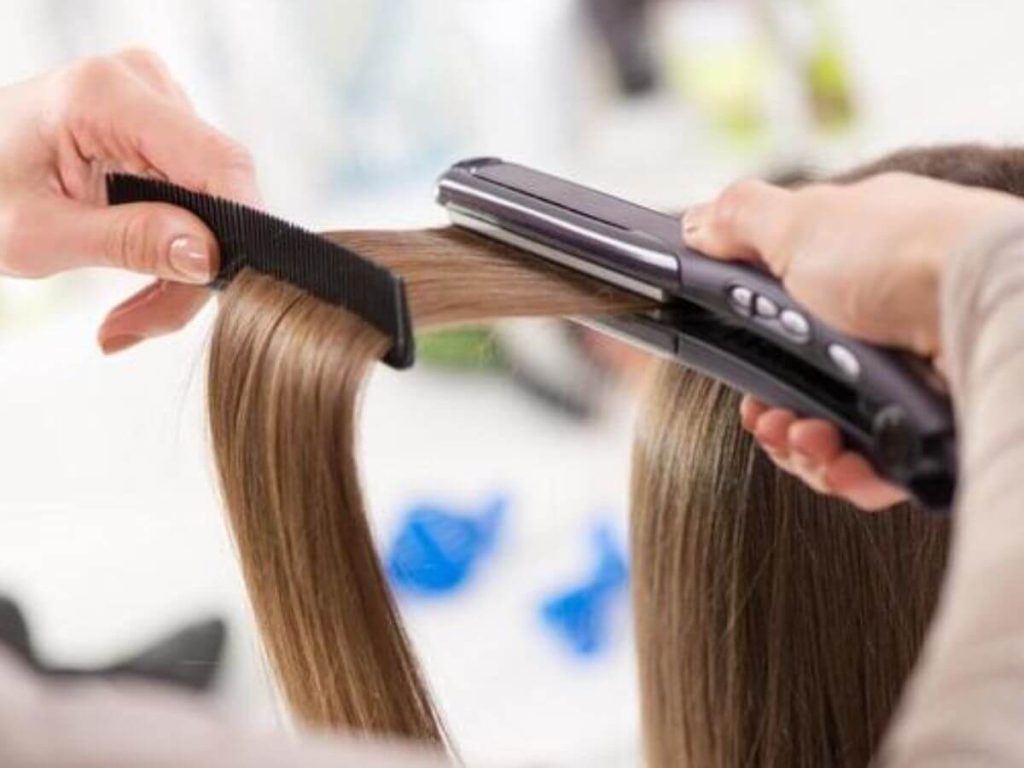
Dyed hair extensions can be more fragile than untreated ones. Heat makes that worse if used too often or at high settings. Always apply heat protectant before styling. Use medium heat, never max, and limit the use of flat irons and curling wands. Let clients or staff know: healthy extensions are better than overly styled ones.
#4 Brush Gently and Store Properly
Good habits prevent breakage and extend the life of the hair. Use a wide-tooth comb or soft bristle brush and start from the ends and work up to the top. Store extensions flat or hung, in a silk or satin bag if possible. The better they’re handled, the longer they’ll last.
6. Best Practices for Conditioning Dyed Extensions
Coloring changes more than just the tone of the hair—it changes the structure. After dyeing, extensions often feel drier or rougher than before. I’ve had brand owners reach out thinking they got a bad batch, when in fact, the hair just needed the right conditioning routine.
If you’re offering dyed extensions, conditioning is what keeps them soft, tangle-free, and wearable. Here’s how to do it right:
Deep Condition Once a Week
Choose a deep conditioner made for color-treated hair. Leave it on for 15–30 minutes. Rinse with cool water to seal the cuticle. This step helps restore moisture that’s lost during dyeing. For bundles used often, weekly deep conditioning is key.
Use Leave-In Conditioner Sparingly
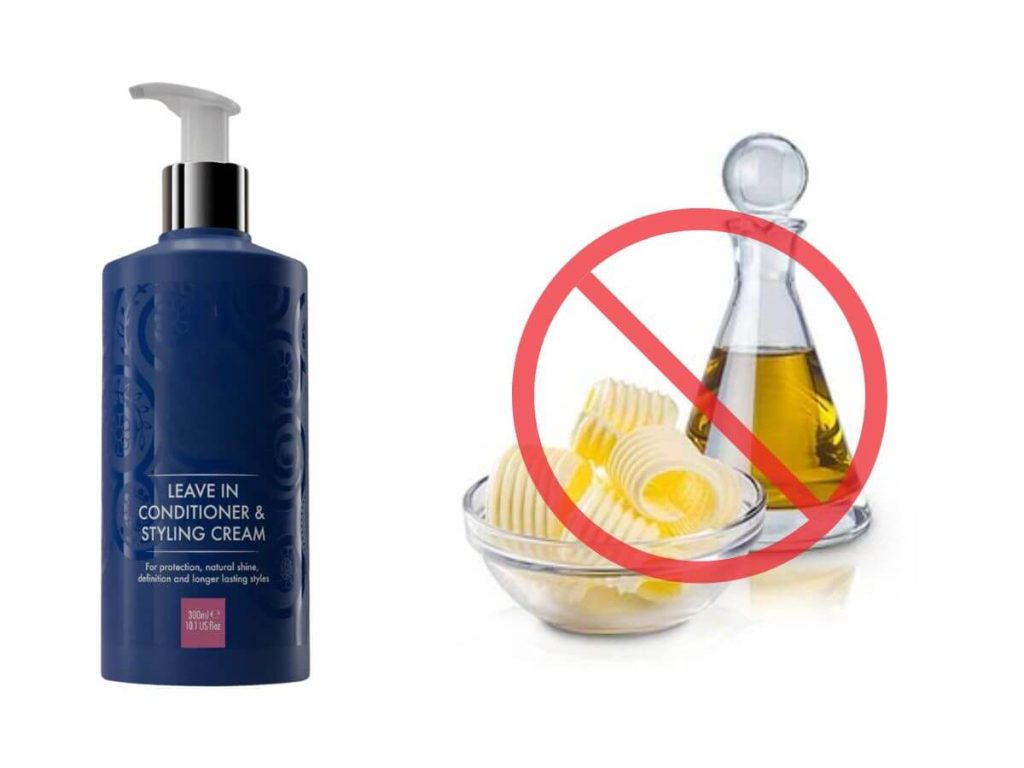
Apply damp or dry hair. Focus on mid-lengths and ends. Avoid the weft or root area to prevent buildup. Leave-ins help reduce frizz and make the hair easier to style—but too much can cause heaviness or stickiness.
Avoid Heavy Oils or Butters
Stay away from thick products like castor oil or shea butter. These can weigh the hair down and trap residue. Use lightweight, silicone-free serums instead. If you’re reselling dyed extensions, buildup can make the hair look greasy right out of the package.
Conclusion
I’ve seen what happens when businesses don’t know how to dye extensions. I’ve also seen what’s possible when they do.
This guide showed you the types of hair that work, the dyes that don’t, and the exact steps that protect your investment. From prep to care, you now have a clear path.
Now it’s your move. Take this knowledge and apply it to your business. Build trust. Deliver quality.
What will your next product or service look like with the right foundation?
Contact us today—let’s make sure your color work speaks for your brand.
Explore More Helpful Resources
If you need more options, take a look at our full range of products. You might find just what you need:
If you’re looking for more insights, we’ve put together a list of helpful articles that you might enjoy:
Still haven’t found what you’re looking for? Don’t hesitate to contact us. We’re available around the clock to assist you.


