

You want hair extensions that look natural, feel comfortable, and last beautifully. The secret starts with proper placement and care for your Hand-Tied Hair Extensions.
When your stylist carefully maps each row based on your head shape, hair density, hairline, crown area, and styling habits, the wefts can stay hidden, feel balanced, and move naturally with your own hair.
Comfort and breathability—sometimes you forget you’re even wearing them.
A seamless, undetectable blend with your own hair.
- Styling freedom, whether you want curls, waves, a sleek finish, or a secure updo.
- A lightweight feel when the row position and weight match your natural density.
There is no single row map that works for every client. A good placement plan protects the perimeter, spreads weight through suitable density zones, and leaves enough natural hair to cover the track in motion.
Key Takeaways
Proper hand tied weft extensions placement starts with the client’s head shape, density, part line, hairline, crown, and styling goals—not a fixed distance chart.
Row count, row width, and the number of wefts stacked on each row are separate decisions. Your stylist balances all three to control weight and coverage.
Enough natural hair must remain around the nape, temples, sides, crown, and active part line to conceal the rows during everyday movement.
Avoid common mistakes like uneven sectioning and excessive tension during installation. These can lead to discomfort and damage.
Persistent pain, pinching, redness, pulling, or visible breakage calls for a prompt professional assessment.
Why Placement Matters?
Natural Results and Volume
You want your hair to look full and natural, not bulky or fake. That’s why placement is everything when it comes to Hand Tied Hair Extensions. When you or your stylist places the wefts correctly, they follow the natural shape of your head.
This creates a seamless blend that looks just like your own hair. You get volume where you need it, without any awkward bumps or visible tracks.
Hand-tied extensions lay flat against your scalp. You don’t get the bulkiness that sometimes comes with clip-ins.
The wefts anchor with hidden beaded rows. This keeps them lightweight and lets you style your hair in many ways.
Even tension means less stress on your scalp. You can wear your extensions comfortably all day.
The weight spreads out evenly. This helps protect fine hair and keeps your natural hair healthy.
Alpha’s Hand-Tied Hair Extensions use high-quality, cuticle-intact Remy hair. The wefts blend so well, most people can’t tell you’re wearing extensions. You get the volume and length you want, with a finish that looks and feels real.
Role of Professional Stylists
A professional stylist knows how to map out your rows and place each weft for the best results. They check your hair type, head shape, and style goals before starting. This careful planning makes sure your Hand Tied Hair Extensions look natural and last longer.
Tip: Trust your stylist to handle the installation. They use the right tools and techniques to avoid mistakes like uneven sectioning or too much tension.
Alpha supports stylists with training and resources. When you choose Alpha’s extensions, you get products designed for seamless blending and comfort. You also get the benefit of expert hands making sure your new hair looks amazing from day one.
Hand-Tied Hair Extensions Placement Guide
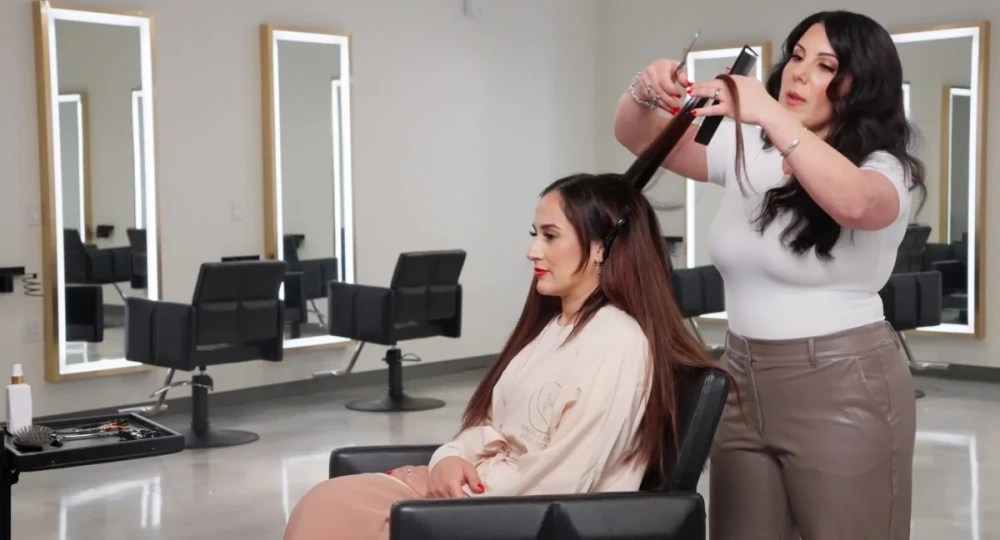
Start With a Consultation and Clean Sectioning
Getting ready for your new look starts with a consultation. Your stylist checks natural density, fragile areas, growth patterns, head shape, active part lines, and the styles you wear most often. Clean, dry hair and precise sectioning help the stylist see where each row can sit without crossing hairs or trapping weak strands.
This article focuses on hand-tied extension placement decisions. For information about tools, bead application, stitching techniques, and the complete salon installation workflow, follow Alpha’s hand-tied extensions installation guide.
Clean, angled sections make it easier to map out where each weft will go. This step sets the foundation for a flawless finish.
Map Rows Around the Hairline, Crown, and Temples
Now it’s time to map out the rows. This step decides how your Hand-Tied Hair Extensions will sit and move with your natural hair. Your stylist will look at your head shape and hair density to plan the placement.
Your stylist first marks the no-go zones: the fragile perimeter at the nape and sides, sparse temple hair, an exposed crown, and any active part line. The row then follows a supportive density zone and the natural curve of the head. Enough natural hair stays above, below, and around the ends of the row to cover the weft when the hair moves.
Do not treat one universal distance from the hairline or scalp as a rule. A safe buffer changes with density, growth pattern, head size, haircut, and the client’s preferred ponytail or part. The visibility test matters more than copying a measurement from another head.
- Nape and lower perimeter: leave enough mobile natural hair below the row to hide it when the head turns or the hair lifts.
- Sides and temples: stop the row before density becomes too sparse to support or cover the attachment.
- Crown and part line: keep the highest row below the point where the crown separates or exposes the track.
- Row ends: place them inside stronger density zones so they do not peek through around the ears or face frame.
Choose the Number of Rows, Row Width, and Stacking
Row count describes the number of attachment tracks on the head. Weft count describes how many hand-tied weft pieces are layered on those tracks. They are not the same. One client may need fewer rows with carefully planned stacking; another may need more coverage zones with less weight on each row.
- One row can support targeted fullness when the natural length already blends well.
- Two rows can spread added length and volume across more of the head instead of concentrating weight on one track.
- Three rows may help a dense or shorter haircut blend, but only when the natural hair can support and conceal the added weight.
Row width should stop before the hair becomes too fine around the sides. Stacking can add extra density without adding another track, but every additional weft also increases the overall weight. Your stylist should always match the extension load to the amount of natural hair captured within each row.
For a deeper guide on quantity decisions, read How Many Rows of Hand-Tied Extensions?.
If a weft needs to be resized, check Can You Cut Hand-Tied Extensions? before making any changes to the seam.
Adjust the Map for Hair Density and Head Shape
Treat every head as a new placement plan. Finer hair usually requires lighter loading, stronger concealment checks, and more space from sparse temple areas or an exposed crown. Dense hair may support wider rows or additional wefts, but each row must still sit flat against the head shape without creating bulky corners.
- Fine or thin hair: Prioritize healthy density zones and reduce the extension load before trying to create additional volume. See Alpha’s guide to hand-tied extensions for thin hair.
- Flatter occipital area: A softer downward curve can follow the shape of the head and help keep the extension ends concealed.
- Rounder head shape: A more horizontal curve may sit naturally, but spacing and row-end placement should still be adjusted according to the client’s hair density.
- Strong cowlick or changing part: Map the placement below the hair’s natural separation instead of assuming the crown area will always provide enough coverage for the row.
Check Movement, Visibility, and Tension Before Sewing
Before committing to the final attachment, your stylist should lift the hair, adjust the part, turn the head, and test the styles you actually wear. The planned row should remain concealed from the back, sides, and crown while avoiding tension on fragile perimeter hair.
- Wear-down check: The track stays flat, and the row ends blend seamlessly into the natural hair density.
- Ponytail or updo check: The nape, side buffers, and row ends remain hidden without forcing the hair into a single position.
- Comfort check: The section moves naturally without sharp pinching, ongoing pulling, or pressure focused around the corners.
Once the placement map passes these checks, the stylist can complete the anchoring, sewing, cutting, and blending process.
For styling inspiration after achieving a properly concealed placement, explore hairstyles for hand-tied extensions.
Common Placement Mistakes to Avoid
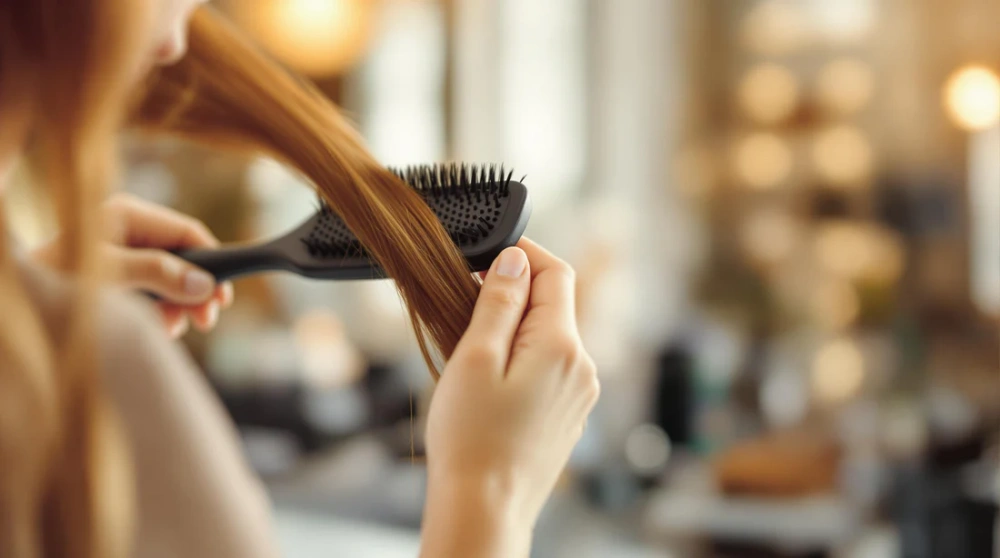
Tension and Placement Errors
Getting the placement right makes all the difference with hand-tied extensions. If you or your stylist makes mistakes here, you might notice discomfort, visible wefts, or even damage to your natural hair. Here are some of the most common errors:
Placing wefts too close to your hairline can make them show, especially when you pull your hair back.
Applying too much tension during installation can cause pain, scalp sensitivity, or even hair loss.
Uneven blending leaves your extensions looking obvious and unnatural.
Tip: Hand-tied extensions should feel secure, not tight. Persistent pain, pinching, redness, pulling, headaches, or visible breakage may be warning signs that the placement needs attention. Ask your stylist to evaluate the row as soon as possible instead of waiting for the discomfort to improve on its own.
Learn more in Are Hand-Tied Extensions Bad for Your Hair?.
Sectioning, Row Ends, and Weight Errors
Uneven sectioning can trap crossing hairs and create concentrated pull. Row ends placed in weak side density can show or feel heavy. A row that carries more stacked wefts than the captured natural hair can support may also create uneven tension. Your stylist should adjust the map, width, or load instead of relying on one fixed scalp distance.
- Do not copy the same map onto every head.
- Do not extend a row into sparse temples just to make it wider.
- Do not place the highest row where the crown or part separates.
- Do not confuse more wefts with better coverage; weight and concealment must stay balanced.
Maintenance and Care Tips
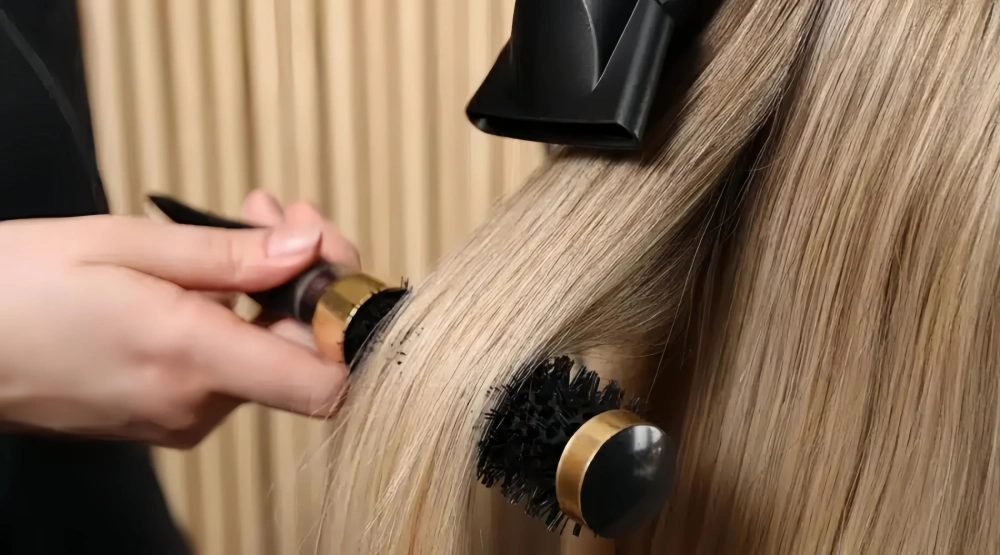
Daily care matters, but a complete maintenance routine belongs in the dedicated hand-tied extensions care guide.
For this placement guide, focus on protecting the attachment area: support the row while brushing, keep heavy products away from the base, dry the row completely after washing, and avoid hairstyles that create repeated tension or pulling at the same corner.
Follow the move-up schedule your stylist sets for your hair and method. Growth changes the angle and leverage of the row, so a placement that began comfortable can become loose, visible, or unbalanced. Book an earlier check if you notice discomfort, lifting corners, slipping, matting near the base, or unusual shedding.
Why Choose Alpha for Hand-Tied Extensions?
A successful placement plan starts with hair that stays thin, flexible, and consistent throughout the seam.
Alpha’s Hand-Tied Weft Extensions are made with cuticle-intact Remy human hair and a lightweight track design, allowing stylists to customize row width, stacking options, color placement, and the final blended look.
Salons and brands can also request support with color, length, texture, and packaging options while keeping this educational page focused on professional placement guidance rather than wholesale information.
Conclusion
The best hand-tied weft extension placement is not a universal diagram. It is a client-specific plan designed to protect the perimeter, respect the crown and part line, match row count and stacking to natural hair density, and pass movement, visibility, and comfort checks.
Need the complete application process after the row map is approved? Continue with Alpha’s How to Install Hand-Tied Extensions guide.
FAQ
Where should hand-tied weft extensions be placed?
Rows usually sit through supportive density zones between the lower head and the area below the crown. The exact position changes with the hairline, nape, temples, crown, head shape, part line, and styling habits. Your stylist should keep the row inside hair that can both support and cover it.
How high should the top row sit?
The highest row should sit below the point where the crown or active part exposes the attachment. Instead of using one fixed distance, your stylist should lift and separate the hair to confirm that enough coverage remains in your normal part and preferred styles.
Will hand-tied extensions damage my natural hair?
Any extension method can create problems when placement, weight, tension, or maintenance does not suit the natural hair. A professional should avoid fragile zones, distribute weight evenly, and reassess persistent pain, redness, pulling, or breakage.
How many rows and wefts do I need?
There is no automatic 2–3 row rule. Row count depends on the goal, natural length, density, haircut, and available coverage zones. Weft count is a separate decision because a stylist may stack more than one weft on a row. Use the lightest plan that delivers the target result while staying concealed and balanced.
Can hand-tied wefts work for fine or thin hair?
They can work for some clients with fine hair when healthy density zones can support the attachment. The stylist may use fewer rows, lighter stacking, shorter row widths, and larger concealment buffers. Very fragile or actively thinning areas should not carry the row.



