

You want your extensions to move, shine, and fall like your own hair, right? A natural blend starts before installation. The color, texture, density, length, and attachment method all need to work with your natural hair. Once those foundations are right, careful placement, a tailored cut, and shared styling bring the look together.
This guide explains the principles that apply across clip-ins, wefts, tape-ins, K-tips, fusion, and micro-ring extensions. If you need a complete clip-in routine, use our step-by-step clip-in blending guide linked below.
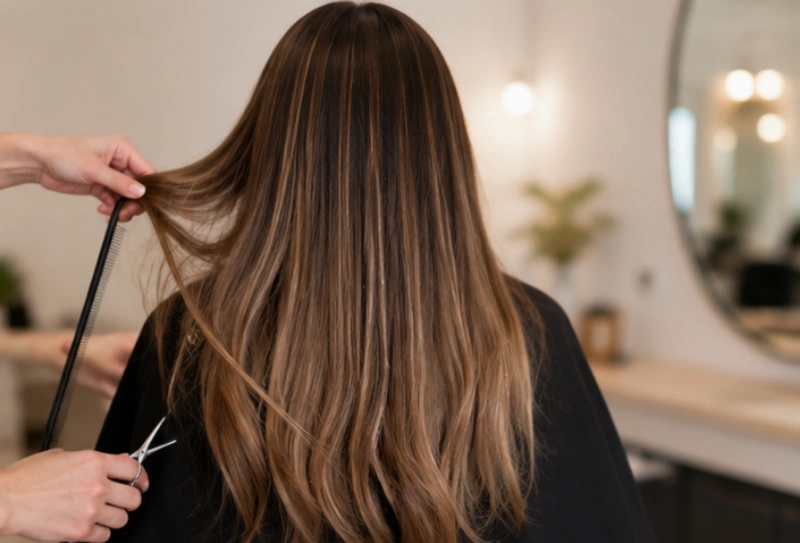
Key Takeaways
- Match extensions to the mid-lengths and ends of your hair, not only the roots.
- Choose an extension method and density that your natural hair can cover comfortably.
- Place attachment points where there is enough hair above them to create a safe coverage zone.
- Cut and style natural hair and extensions as one shape instead of treating them as two separate layers.
- Diagnose the visible problem first: color, texture, density, placement, or length transition.
What Makes Hair Extensions Blend Naturally?
A seamless result is a chain of small matches. If one link is wrong, styling alone rarely fixes it.
Color and Tone
Compare the extensions with the middle and ends of your hair in natural light. Your roots may be deeper than the lengths, so a root-only match can create a visible color block. If your hair has highlights or lowlights, two close shades or a dimensional blend can look more natural than one flat color. Use Alpha’s hair extension color-matching guide when you need a more detailed shade check.
Texture and Surface Finish
Straight hair beside a loose wave, or a soft natural curl beside a uniform factory curl, creates a visible boundary even when the shade is perfect. Match the pattern first, then style both sections together. Also compare shine: an overly glossy extension beside matte natural hair can reveal the blend.
Density and Weight
Your natural hair determines how much extension hair the final shape can support. Fine hair usually needs flatter, lighter attachment points and careful top coverage. Thick or blunt hair needs enough extension density through the middle and ends; otherwise the natural hair sits like a shelf over a thin lower section.
Length Transition
The larger the jump between natural hair and extension length, the more density and cutting work the blend requires. A gradual transition is easier to hide than a sudden change from a blunt bob to very long ends.
Placement and Cut
Attachment points should follow the head shape and sit inside a safe zone with enough cover hair. After installation, soft layers, point cutting, and face framing connect the two lengths. A professional should make major cuts while the extensions are installed in their intended positions.
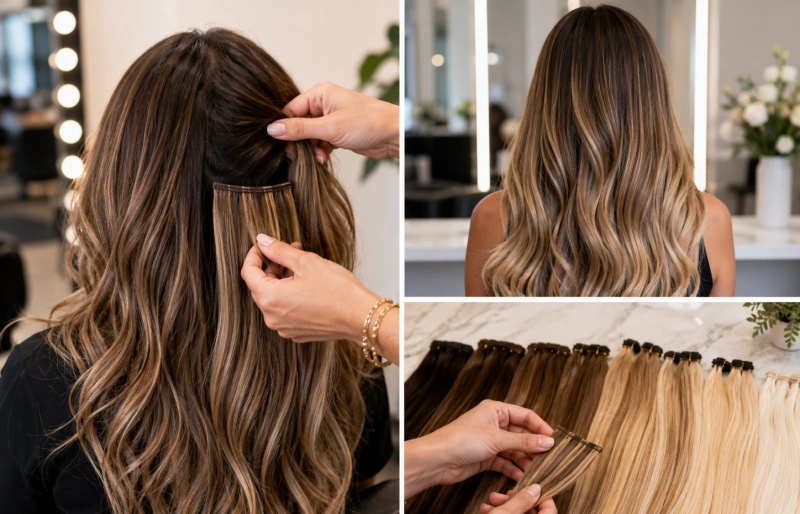
How Blending Differs by Extension Type
| Method | Main blending challenge | What matters most |
| Clip-ins | Visible wefts, blunt ends, uneven side volume | Repeatable placement, cover hair, customized cutting |
| Wefts | A heavy horizontal line or uneven density | Row height, track shape, density distribution, tailored cut |
| Tape-ins | Tabs showing through or creating gaps | Brickwork placement, clean perimeter, flat sandwiches |
| K-tip / fusion | Bonds visible in movement or thin areas | Bond size, strand-by-strand distribution, safe zones |
| Micro-ring | Beads visible or bulky near the crown | Bead color, section size, spacing, natural fall |
How to Blend Clip-In Hair Extensions: Overview
Clip-ins give you control over every wear, but that also means the placement must be repeatable. Match the set, section the hair, build rows from the lower back of the head, use smaller pieces near the sides, and cut or style the finished shape together. For exact placement and the full seven-step routine, follow how to blend clip-in hair extensions.
How to Blend Weft Hair Extensions?
A weft creates a continuous curtain of hair, so the track must follow the head without leaving a heavy ledge. The row should sit low enough to remain covered and high enough to support an even fall. Distribute density around the sides rather than concentrating everything at the back. For method-specific detail, see our guide to blending hand-tied extensions and hair weft placement guide.
How to Blend Tape-In Extensions?
Tape tabs need to lie flat and remain hidden when the hair moves. Avoid the hairline and part, leave a clean perimeter, and stagger the rows so the tabs do not create one obvious horizontal band. The amount of hair between each tape sandwich should match the tab width and the client’s density. Review tape-in hair extension placement for a focused installation map.
How to Blend K-Tip and Fusion Extensions?
Individual bonds allow a stylist to follow the natural density more precisely than a full weft. The blend depends on using small, consistent sections and avoiding exposed areas near the part and perimeter. Bond size should feel proportional to the natural strand section. Learn more about K-tip hair extensions before choosing this method.
How to Blend Micro-Ring Extensions?
With micro rings, bead size, bead color, and row spacing influence visibility. A stylist can vary the distribution around fine or dense areas, but there still needs to be enough cover hair above every bead. Our micro-ring installation guide explains the method in more detail.
How to Match Color, Texture, and Density?
- Check color in indirect daylight and compare the extensions with your mid-lengths and ends.
- Match the natural texture before heat styling. A similar starting pattern requires less manipulation.
- Assess density at the roots, through the middle, and at the ends. Do not judge only by ponytail thickness.
- Choose a length that can be connected with layers. The bigger the length change, the more density you need below the natural ends.
- Confirm the attachment base is slim enough for the available cover hair.
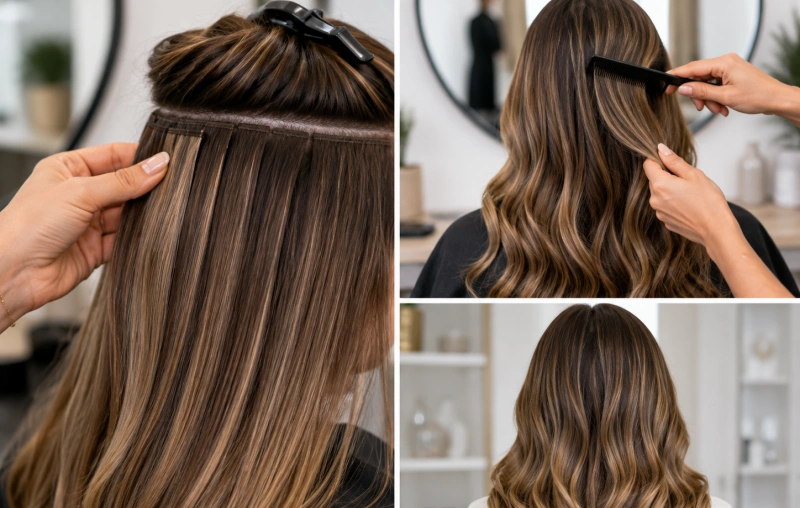
Manufacturer insight: A natural-looking set depends on more than total weight. Consistent density from weft to weft, controlled return hair, a flat base, aligned Remy cuticles, and repeatable color all affect how easily a stylist can create a clean blend.
Common Blending Problems and Fixes
| What you see | Likely cause | Best next move |
| A clear line where natural hair ends | Blunt cut, large length jump, or low extension density | Add connection layers; reduce the length jump; reassess density |
| Attachment points show | Rows are too high, cover section is too thin, or base is bulky | Move attachments lower; increase cover hair; choose a flatter base |
| Ends look thin or stringy | Too little hair through the lower lengths | Redistribute or add density; trim to a fuller finished length |
| Color looks close but not natural | Wrong undertone, flat single shade, or shine mismatch | Match mids/ends; mix neighboring shades; refine tone |
| Natural and extension hair separate | Texture mismatch or styling done in separate blocks | Style mixed sections together and soften the cut |
| Sides look empty | Too much hair at the back and not enough near the temples | Add smaller side pieces or adjust professional placement |
Choose the Right Blending Guide
Use the complete clip-in blending guide when you want a start-to-finish placement, cutting, and styling routine.
Use the short-hair clip-in blending guide when you have a bob, lob, blunt ends, limited cover hair, or a large length transition.
Use our curly hair extension blending guide when matching curl pattern, shrinkage, and definition is the main challenge.
Final Check
A good blend should pass three tests: you cannot see the attachment points, the natural ends do not form a separate shelf, and the hair moves as one shape from front, side, and back. If one test fails, identify whether the problem is product choice, placement, cutting, or styling before adding more product.
FAQ
Why do my hair extensions look obvious?
The most common reasons are a color or texture mismatch, insufficient extension density, attachments outside the safe coverage zone, and a sharp length transition. Fix the cause rather than trying to hide everything with more heat or product.
Can every extension method blend with fine hair?
Fine hair can wear several methods, but the attachment base, weight, and placement must be conservative. A stylist should check the strength and density of the natural hair before recommending a semi-permanent method.
Should extensions be cut after installation?
Usually, yes. Cutting while the extensions are in their planned positions helps the stylist connect natural layers, extension lengths, and face framing accurately. Major cutting is best handled by an extension-trained stylist.
Is curling the easiest way to hide a poor blend?
Waves can soften a visible line, but they cannot correct the wrong color, insufficient density, or exposed attachment points. Build the blend first, then use styling to refine it.
Conclusion
Blending hair extensions becomes much easier when you treat color, texture, density, method, placement, and cutting as one system. Start with the right hair and attachment structure, then let the finished cut and styling create movement. That is how extensions stop looking added and start looking like your own hair.



